Translate

Friday, February 8, 2013

Trimmed Cardigan Sewing Tutorial


Materials:
  • 1/2 or more of knit fabric, depending on what size you're making, interlock would be great
  • 1/2" double fold bias tape (one yard)
  • thread
  • ballpoint needle
  • cardigan pattern

[1/4" seam allowance used throughout]

I decided it might be easier to include a couple pattern pieces for the cardigan (download from link above), I made a size 2/3T and a 5T.  You can choose to use the pattern pieces or you could make your own, or if you have a simple raglan tee pattern you can modify that.  It's quite forgiving, and quick, so if you don't get it right the first time, give it another try!

Directions:
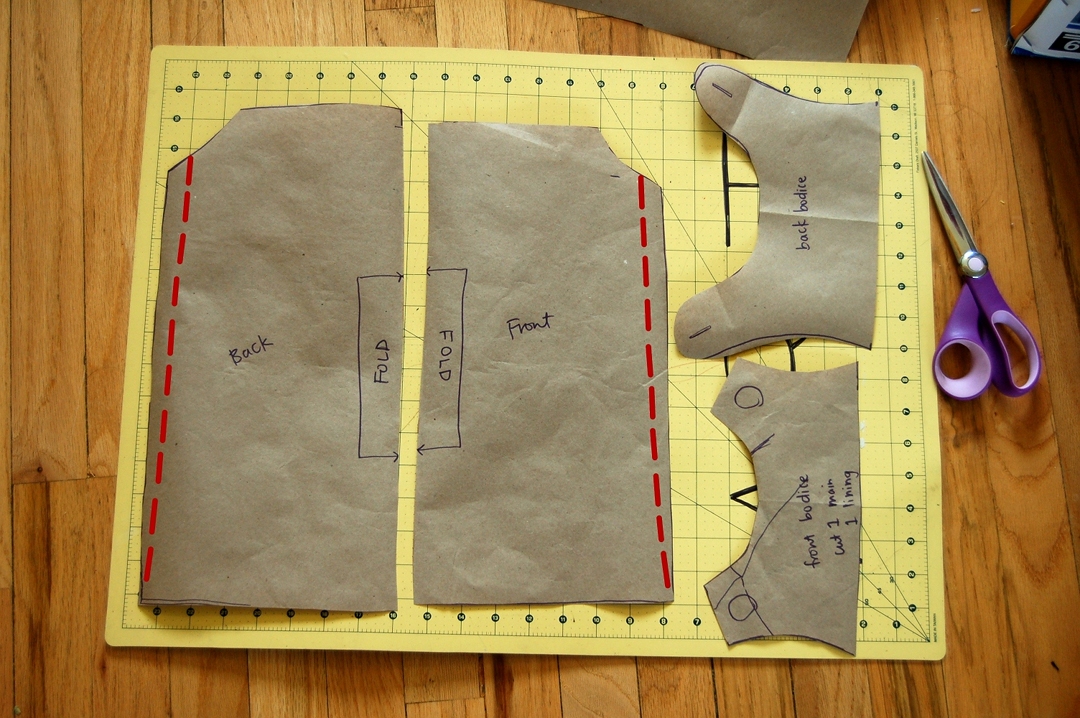
Assemble pattern pieces, cut desired size and tape together at matching letters on pattern pieces.  Cut two body pieces on the fold and two sleeve pieces on the fold. 

Stitch sleeves to body pieces right sides together.  I just used a regular stitch and foot on my machine. Here's a diagram of how the sleeves get sewn to the body:

Cut an opening straight up one body piece (this creates the cardigan opening and will be the front).  Next you can align the top front edges and trim away a little scoop for the front like so:

Next, place the cardigan flat right sides of facing.  Pin. Sew, going under the arm continuing down the body of each side.

Lastly attach the double fold bias tape to the neck edge, leaving a tail of tape on either side.  You can either sandwich it on, or open it up, stitch on the fold then fold it over the knit to the other side and sew, being sure to sew all the way to the ends of the tape. 


Tie a knot in each end of the tape, plop it on a cute kid, and you're ready for fall!

Sewing Classic Jumper Tutorial

Tutorial: Classic Jumper


 Here is the sketch of the jumper I wanted to make.
You will need:
Main fabric
A little bit of fabric for lining
2 buttons
For this 12-18 month size jumper I probably used 3/4-1 yard of the main fabric and 1/4 yard of the lining material.
So first you need to draft your pattern.  I used a small jumper to get the pattern shapes, and a dress that fits Yuki to get the pattern size.  If you need help drafting a pattern, there are plenty of great resources out there like this one or this one.
The red lines are alterations I made as I was sewing, when I realized the size/fit was all wrong.  If you’re using this to get general shape ideas, make note of those changes!
The pieces you’ll need are:
Bodice front (1 main, 1 lining)
Bodice back (1 main, 1 lining)
Body front
Body back
Pocket (2 main, 2 lining)
Pocket edge (2 main)
Let’s start sewing!
First we’ll do the pockets.  Take one main fabric pocket and one lining pocket and pin them together right sides together.  Do the same with the other pocket fabrics and sew the curved edge together.  Keep the top (straight edge) open!  Flip them right side out and press.
Now we’re going to gather the top of the pocket.  If you need help with gathering, here’s a greatgathering tutorial.  I do it the way Dana calls the “proper” way, except I usually only do 1 line instead of 2 or 3, like you’re supposed to.
Sew a straight line across the top edge of the pocket with your machine set to the longest stitch.  Do not backstitch at the end or beginning!  Pull on one of the threads to gather the top edge of the pocket.
For the pocket edge, fold it in half along the long side with the right side in.  Sew up the short sides and leave the long edge open.  Flip it right side out and press.
Then fold the edge in about a 1/4 inch and press.  Now you have this little pocket to stuff the top of your pocket into :)   Confusing enough?
Slide the top of the pocket into the opening and sew around the edge.
(why does one pocket look bigger than the other in this picture? :( )
Position your pockets onto the front body piece and top stitch around the pocket.  Make sure to leave the top of the pocket open and also sew back and forth several times at each end.  The top corners of pockets get pulled the most, so these extra stitches will make sure the pockets are securely attached.
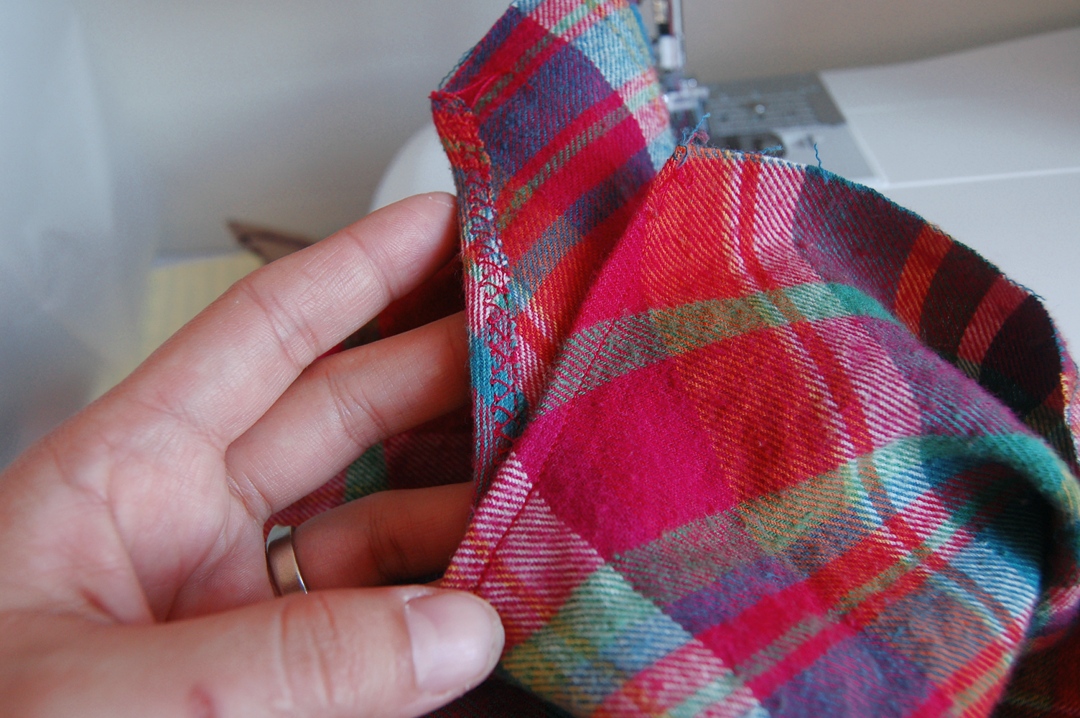
Now lay the front and back body pieces together with right sides together and pin up the sides.  Sew up the sides and then press these seams open.
With the side seams opened up, serge or zig zag stitch along the arm hole.  Fold the edge down a 1/4 inch, press and sew.  If you can’t serge or zig zag, just fold the arm hole edge down a 1/4 inch and then another 1/4 inch, then sew (like you would a hem).
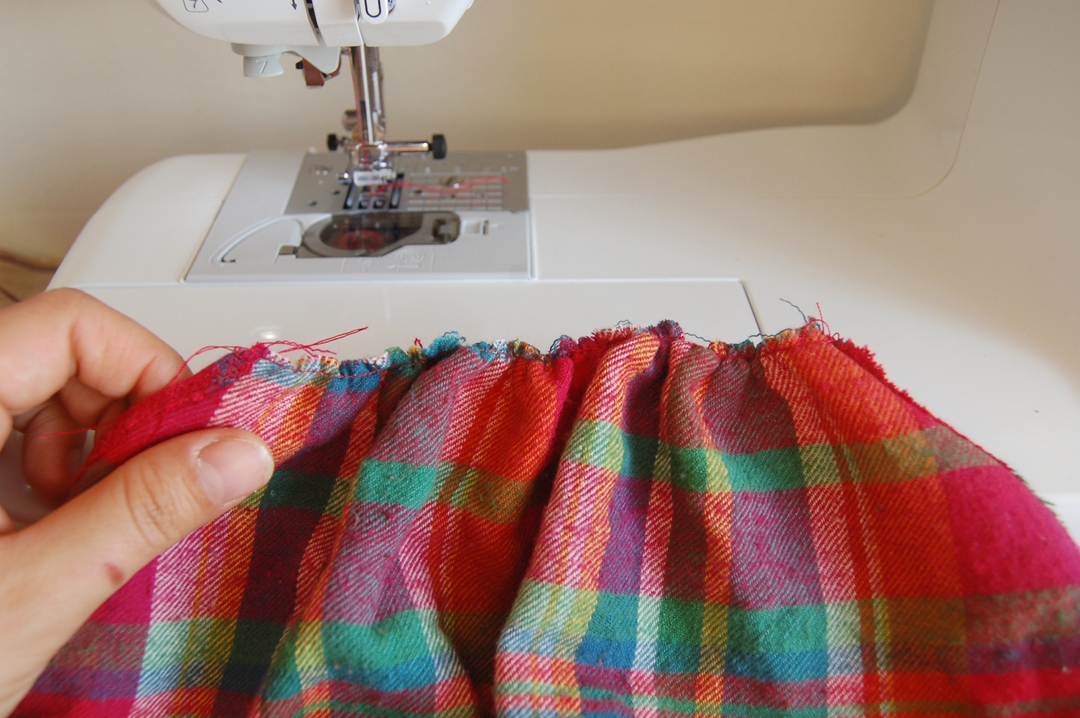
Now we’re going to gather the top part of the body piece.  Just like before, set your machine to the longest stitch and sew a straight line across the top of both the front and back of the body piece.  Pull one thread to gather the fabric (both front and back).  Set the body of the dress aside while we work on the bodice.
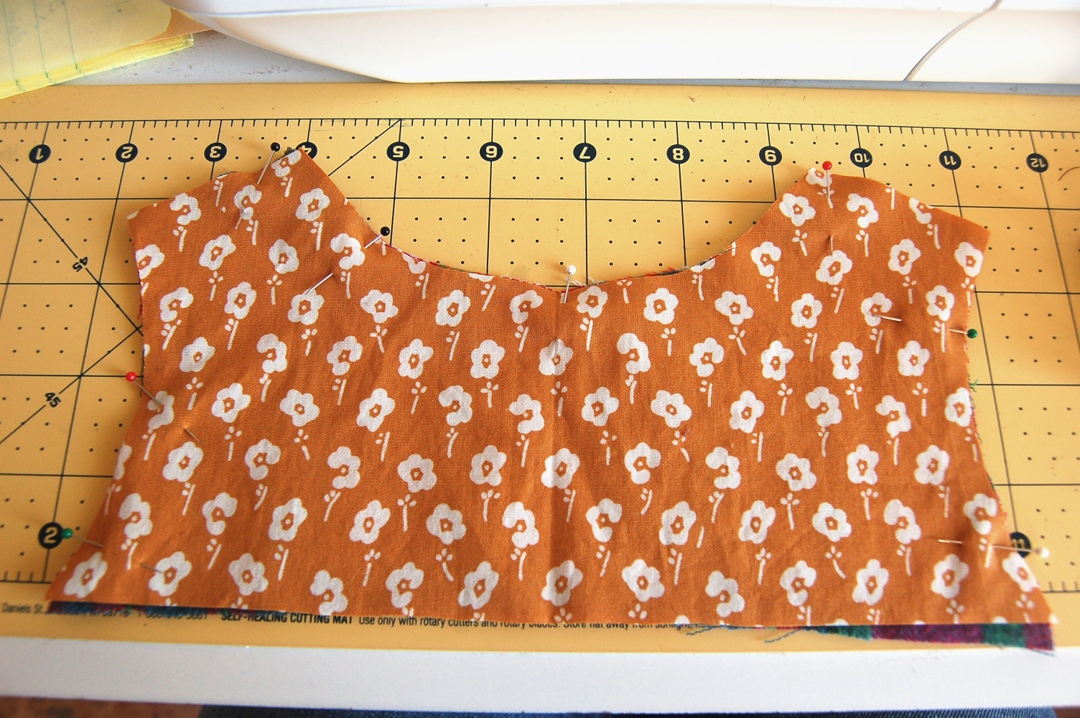
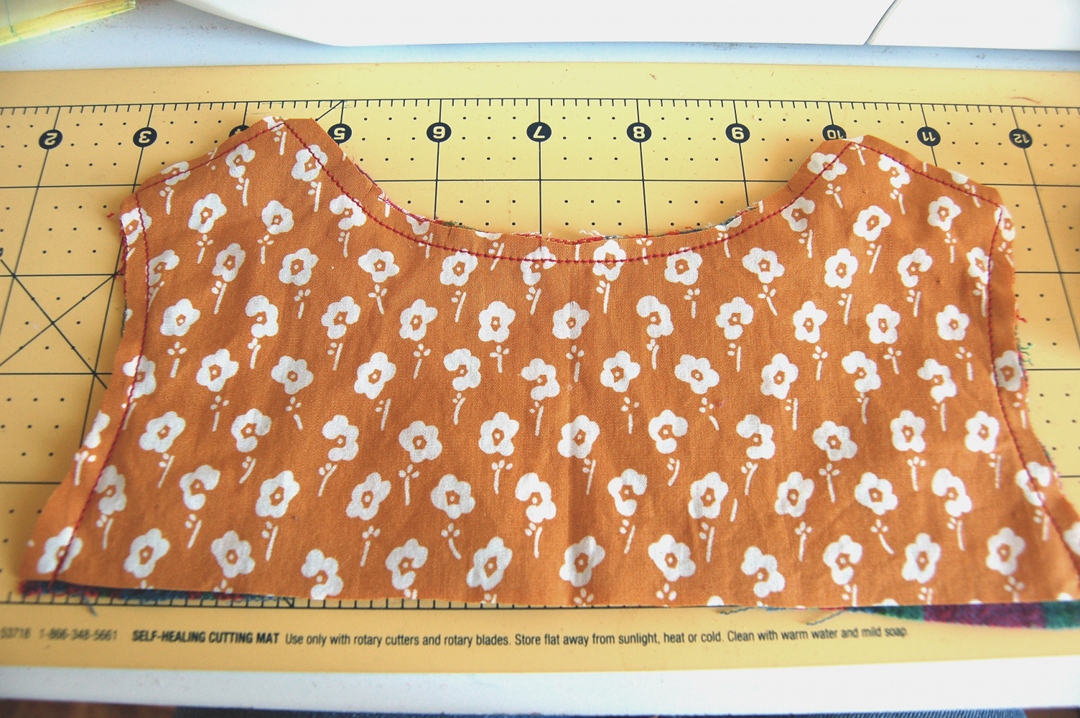
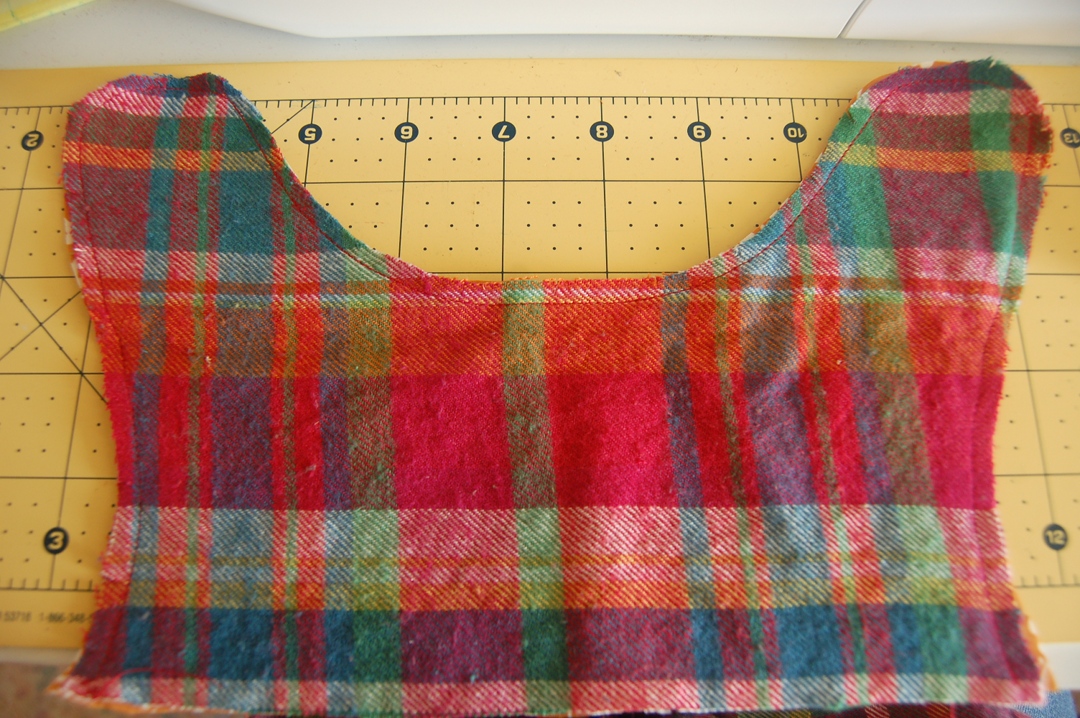
Pin the bodice pieces together: main fabric and lining of the front bodice piece and the main fabric and lining of the back bodice piece, right sides together.
Sew around bodice pieces, leaving the bottoms (straight edges) open.  Trim excess fabric, corners and clip curves.  Turn right side out and press.
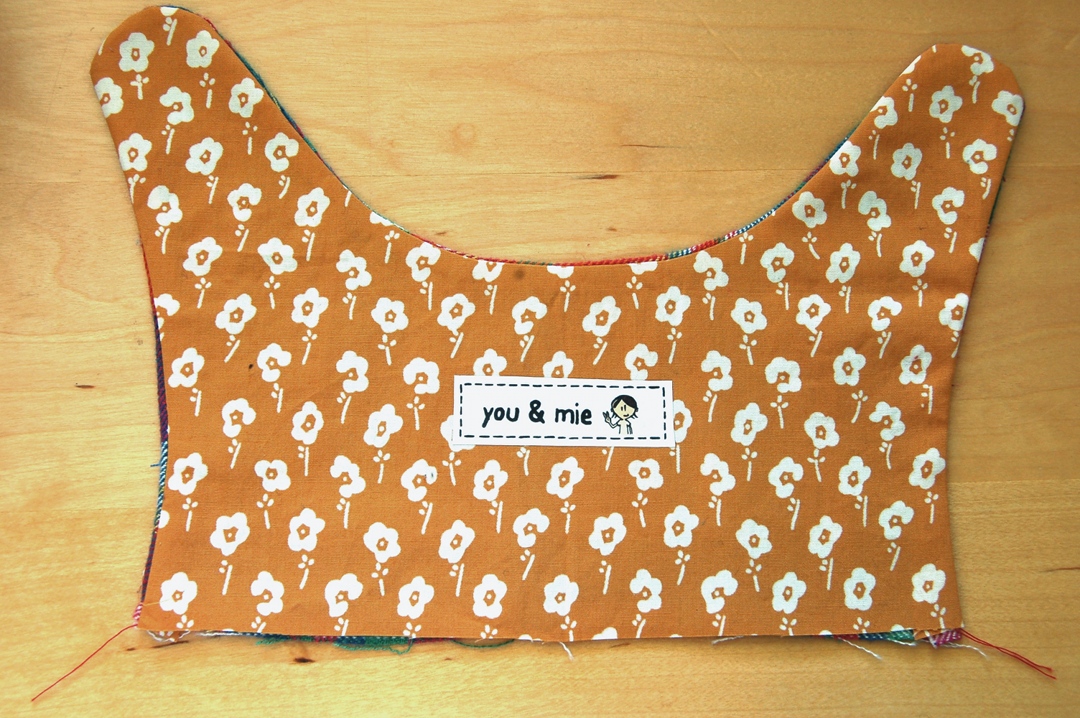
(I also added a label at this point, in the center of the back bodice piece.  I just used an iron on transfer that I printed on my inkjet printer).
Turn about a 1/4 inch of the bottoms in (the same way we did with the pockets) and press.
Now you’re going to slide the gathered edges of the body into the bodice pieces (just like we did with the pockets)!  Make sure to put the front of the jumper into the front bodice piece and the back of the jumper into the back bodice.  Pin and sew along the straight edge and continue top stitching around the entire bodice piece (both front and back).
You’re almost done!!  Sew button holes in the back bodice piece and buttons onto the front bodice piece.
Hem up the bottom by folding up a 1/4 inch and pressing, then folding another 1/4 inch, pressing again and top stitching.  You’re done!!!

Thursday, February 7, 2013

Crochet Dahlia Dishcloth

Crochet Dahlia Dishcloth

MEASUREMENT
Approx 8½ ins [21.5 cm] diameter.
MATERIALS
  • Lily Sugar’n Cream (70.9 g/2.5 oz; 109 m/120 yds)
  • Contrast A (01215 Robin’s Egg) 1 ball
  • Contrast B (00042 Tea Rose) 1 ball
  • Contrast C (00073 Sunshine) 1 ball
  • Size 5 mm (U.S. H or 8) crochet hook or size needed to obtain gauge.
GAUGE
15 sc and 16 rows = 4 ins [10 cm].
ABBREVIATIONS
www.sugarncream.com/glossary
INSTRUCTIONS
With A, ch 8. Join with sl st to form ring.
1st rnd: Ch 1. Work 16 sc in ring. Join B with sl st to first sc.
2nd rnd: With B, ch 4 (counts as tr). 1 tr in same sp as sl st. 2 tr in each sc around. Join with sl st to top of ch 4. 32 sts.
3rd rnd: Ch 4 (counts as tr). (Yoh) twice and draw up a loop in same sp as last sl st. (Yoh and draw through 2 loops on hook) twice. *(Yoh) twice and draw up a loop in next tr. (Yoh and draw through 2 loops on hook) twice. Rep from * once more. Yoh and draw through all 4 loops on hook – counts as cluster. **Ch 3. (Yoh) twice and draw up a loop in same sp as last tr. (Yoh and draw through 2 loops on hook) twice. [(Yoh) twice and draw up a loop in next tr. (Yoh and draw through 2 loops on hook) twice] twice.Yoh and draw through all 4 loops on hook –cluster made. Rep from ** to end of rnd. Ch 3. Join C with sl st to top of first cluster.
4th rnd: With C, ch 6. Sl st in 4th ch from hook. 3 tr in same sp as sl st at end of 3rd rnd. 1 sc in top of next cluster. *Ch 6. Sl st in 4th ch from hook. 3 tr in same sp as last sc. 1 sc in top of next cluster. Rep from * around.
Join with sl st to base of first cluster. Fasten off.

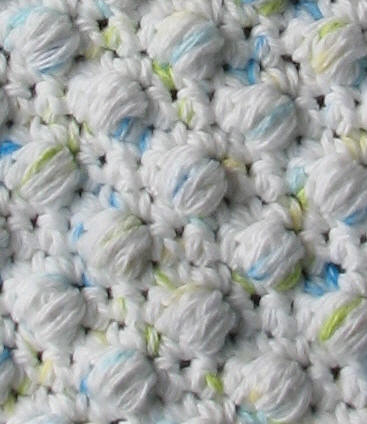
Crochet Ball Stitch Dishcloth

Crochet Ball Stitch Dishcloth

Crochet Tulip stitch dishcloth

Tulip Stitch Dishcloth - Crochet


Size: 8 in. x 8 in.
Materials:
1 ball worsted cotton yarn
Size G crochet hook or size needed for a fairly tight gauge.
Chain 35
Row 1: 3 dc into 4th ch from hook, *skip 3 ch sts, (1 sc, ch 3, 3 dc) into next ch, rep from * to the last 4 ch, skip ch 3, sc into last ch, ch 3, turn.
Row 2: 3 dc in first sc, * (1 sc, ch 3, 3 dc) into ch 3 loop, repeat from * to the last loop, 1 sc in last loop, ch 3, turn.
Repeat row 2 fourteen times for a total of 16 rows. At the last loop on row 16 do not turn; *sc in loop, ch 3, 3 dc. Repeat from * around three sides. Remember to crochet over beginning yarn as you round that corner.
End with 1 sc in base of beginning tulip stitch on row 16.
Break yarn & weave in end.

Free crochet cotton candy dishcloth

 Cotton Candy Dishcloth