Translate

Wednesday, May 22, 2013

Bayern Sundress from Elegance & Elephants


You will need:
Fabric (you may opt to use a contrasting lining as I did)
1″ wide elastic – cut two pieces, 6cm/2.5in long
5 buttons
Thread
This is about a size 2 years, and fits my 25 1/2 pound (11.5 kg) daughter.  
Please excuse (and don’t be confused by) my change in fabric!
**When you stitch to the lining, make sure to leave the bottom of the bodice & the back yoke open, so you can turn it right side out later**
Whew!  All done. Head over to Elegance & Elephants for a couple variations of this dress, with tutorials.  

sewing Twirling Sundress


All you need is knit fabric and regular sewing supplies. I actually used an old knit sheet, so I'm not sure how much yardage you'll need. It was a twin size if that helps.
First, cut out the circle skirt. Instead of drafting a pattern, I just measured on the actual fabric and pinned where I needed to cut the circle.  If you need help with a circle skirt, go here.
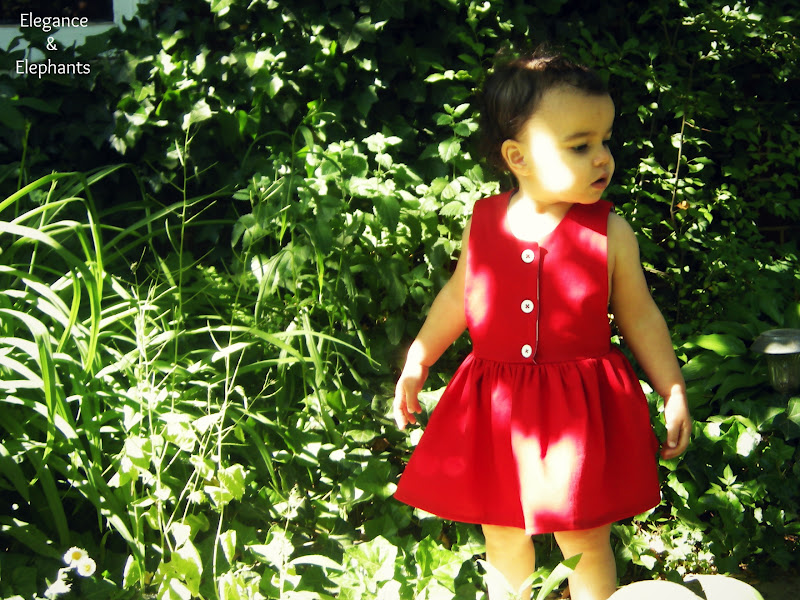
I made mine a little longer in length and cut the top opening a bit narrower since I wanted it to sit higher on my waist.
Now cut out your top. I used a shirt as a template.  Notice it's folded at the bottom.  I wanted the top of the dress shorter than a regular shirt because I wanted the waist line to be higher. Also cut out your sleeves {not shown}.
Cut out two long strips of fabric of different widths for the ruffles around the neck.
Sew the top front and back pieces with right sides together at the shoulder and side seams.
I cut my sleeves wider so that I could gather the bottom.  This is optional.
If you do gather the bottom, cut out two strips of fabric to use as binding on the bottoms of the sleeves.
Stitch the binding to the sleeve right sides together, close to the bottom edge.
Turn it under and topstitch along the binding. Do the same for the other sleeve.
Sew the sleeves along the underarm seam.
Turn the sleeve right side out {the top should still be inside out}. Insert the sleeve into the top and stitch in place.
Lay the smaller ruffle piece on top of the wider one with right sides facing up. Run a gathering stitch along the edge of the ruffle pieces so that they are together.
Lay the ruffles along the neckline and adjust them to fit. Sew the ruffle together in the back, so that it is a complete circle.
Pin the ruffle along the neckline.  I didn't want to finish the edges, so I pinned the ruffle a little above the edge of the neckline to make sure the neckline wouldn't show.  Stitch the ruffle to the collar.  You could finish the neckline with binding, similar to the sleeve, if you like a neater look.
Then turn the top inside out and insert the skirt into the top so that right sides are together.  Stitch the top to the skirt and you're done!
This is a completely adaptable dress.  You really could make any top and add it to a circle skirt using the same method.  

Sew Baby Girl Bubble Romper


Start by cutting out two rectangles for the top. Mine measured about 18"x11", but it doesn't have to be perfect. Just make it wide enough and tall enough that it "bubbles" when it's shirred.

For the bottom, trace a pair of shorts {or use a basic shorts pattern}. Cut two front pieces.

And two back pieces. Make sure the inner leg seam is long enough to accommodate the cuff. I wanted a fairly deep cuff, so I cut the shorts longer than the original. 

Sew the two top pieces right sides together along the short sides.

Zig zag stitch one long end all the way around. Fold down and press, then stitch it down. This is the top end.
Sew rows of elastic thread along the top until the top is gathered enough that it will fit snugly around your child's chest.

Now for the shorts. Sew the front pieces to the back pieces at the inner and outer leg seams.

Turn one leg right side out and insert into the other leg. 
Stitch along the curved line. I like to do a double row of stitching, since this area tends to get a lot of strain.

Turn the shorts right side out. Use a leg to measure the width of your cuff. It should be the same width of the leg, plus side seams. It should be double the height you want the cuff to be. The cuff shown below is two rectangles, one on top of the other.

Sew each cuff with right sides together at the side seams.
Fold the cuffs in half and press. The raw edges are at the top, and there is a fold at the bottom.

Insert a cuff into one of the legs, matching the raw edges. There should be a total of three layers all the way around the leg opening.

Zig zag stitch the cuff to the leg.

Turn the cuffs to the outside of the shorts and press.

Run a gathering stitch around the bottom of the top piece, so that it is the same width as the top of the shorts.

Turn the top inside out and insert the shorts into the top. Match the raw edges. Stitch the top to the shorts.

Pull the top out of the shorts. It should look like this:

Now it's time to gather the waist. On the inside, stitch a 1/8" elastic along the seam line, stretching the elastic as you sew. Once you let go of the elastic, it will shrink back to its original size, gathering the fabric with it.

So now your bubble romper should look like this:

For shoulder ties, I cut four strips of fabric and sewed them into tubes. Don't make them too long-safety first!

Turn them right side out and press.

Then stitch them to the top where you want them and you have a Shirred Bubble Romper! 

I ended up tying the bows in double knots so they'd be extra secure.