Translate

Thursday, March 27, 2014

FEEDSACK DRESS TUTORIAL


You’ll need:
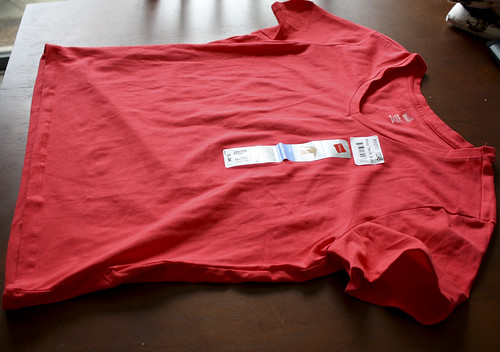
fabric (I used one yard and had just enough for my 2 yr old) feedsack print is optional, but adorable! ;)
single fold bias tape (one package was just enough for me)
buttons
lightweight iron on interfacing
muslin for lining
thread, sewing stuff
I have the pattern I used available here to download. For free, of course! It’s only available in a size 2/3T. 
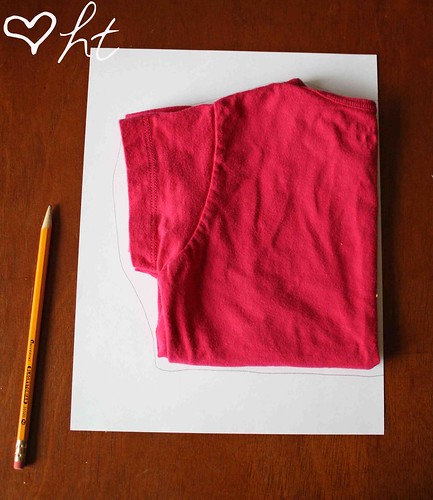
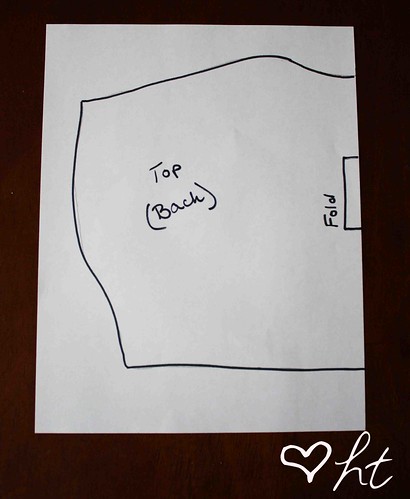
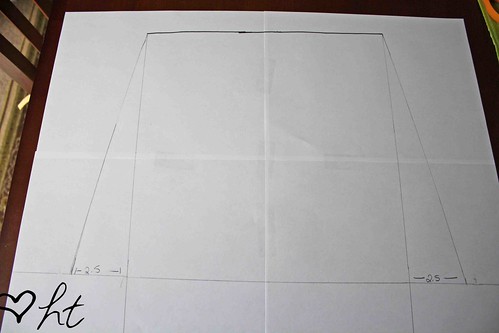
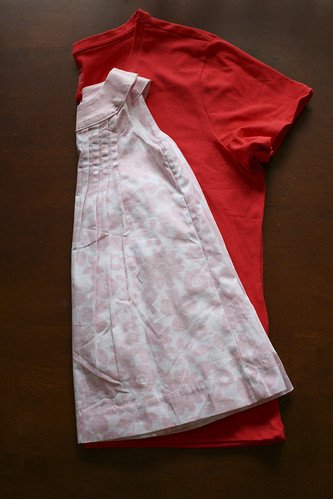
To get started, make a simple bodice pattern by tracing an existing shirt, or printing off my pattern. You’ll want the neckline to dip down in the front a bit more than the back.
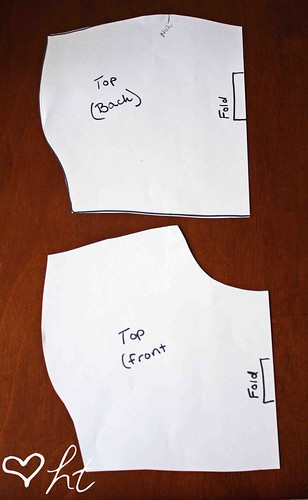
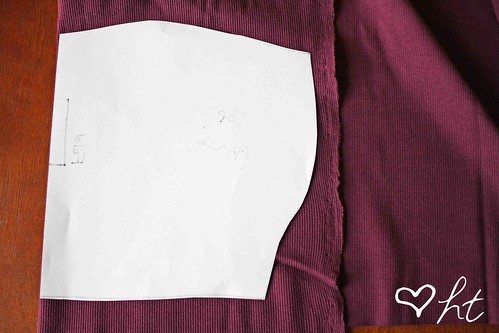
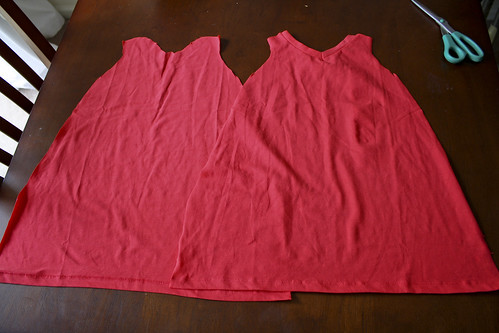
Then, cut out your pieces-cut 2 of your front bodice on the fold, one of main fabric, one of your muslin (or other fabric) lining.
Cut four of the back bodice, two of MF, two of lining.
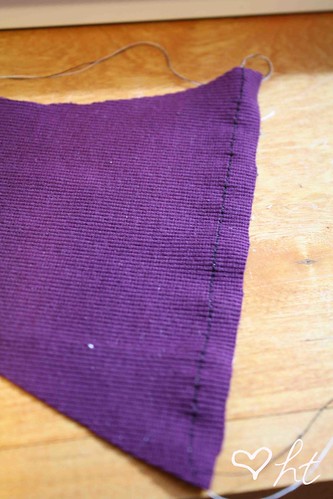
Then, right sides together, pin and sew the shoulder seams together. Press seams open-do not finish them!
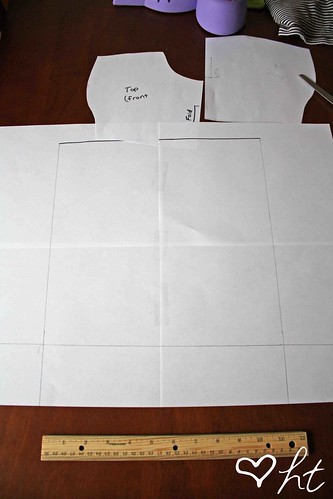
Now to make the Peter Pan collar-(or use the pattern) lay out your bodice piece like so, and trace around the inside. Note that I moved the fabric away from the line for the picture, it should follow the edge.
Didn’t get a pic of this, but then draw a PP collar shape around that tracing. With this style, you don’t have to add any seam allowance, since it will be trimmed with bias tape. Then cut out 4 pieces of muslin from this pattern.
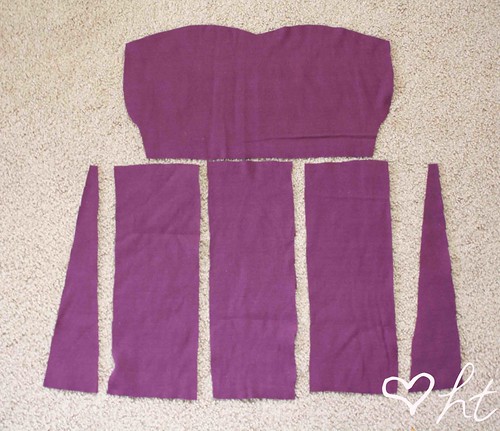
It should look something like the picture below. 
Also cut out two pieces of interfacing (I used medium weight), and iron them onto the backs of two of the pieces. Make sure the pieces are facing the right way so they won’t be “off”. (ie, slightly different ends of collar on different sides) I’m so bad at explaining these things.
Then, make sure you have the collar pieces facing the right way. then:
1. Baste together on the outside, wrong sides together.
2. open up your bias tape, and pin it to the round part of your collar.
3. sew it to your collar, making sure your stitches follow the crease.
4. flip the bias tape around the edge, pin, and top stitch close to the edge.
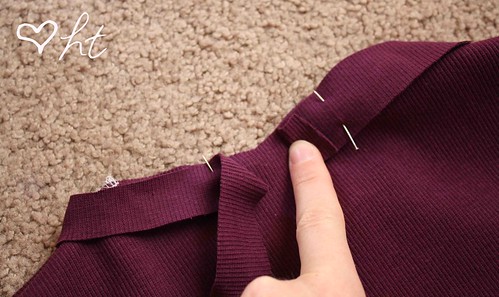
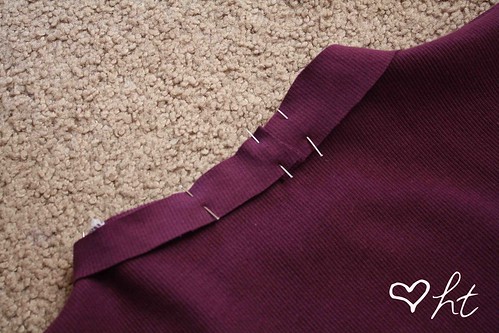
Now place your collar pieces like so…I ended up trimming a little bit off of the front bodice piece to make it fit. I overlapped the front a little bit so that when I sewed my seam allowance the pieces would just barely touch. On the back, I left 1/2″ of room for my zipper.
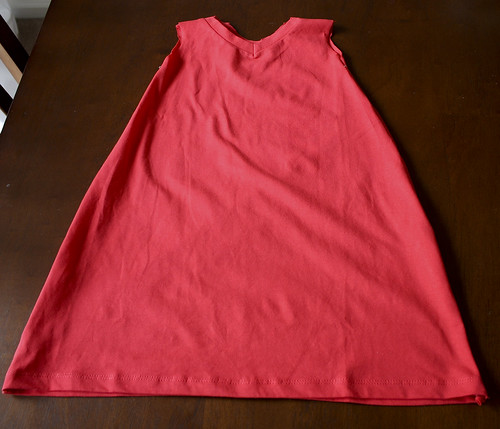
 Then I laid my lining piece right side down on top of that, and pinned around the neck.
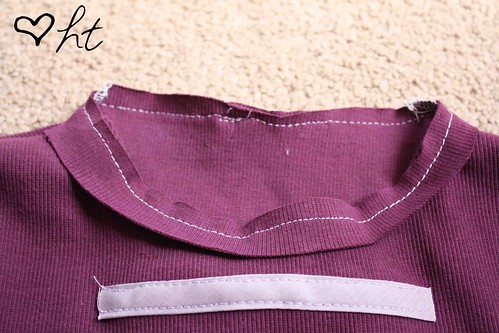
Then I sewed around the neckline only, clipped the curves like so, turned right side out and pressed well.
Then I made and cut out my sleeve piece, pretty basic. I cut an angled piece out of them in the middle (this is already done in the pattern piece I uploaded)
 Then I cut some bias tape to fit the sleeve edges, sewed them like so…
Then flipped them around and sewed them just like the collar.
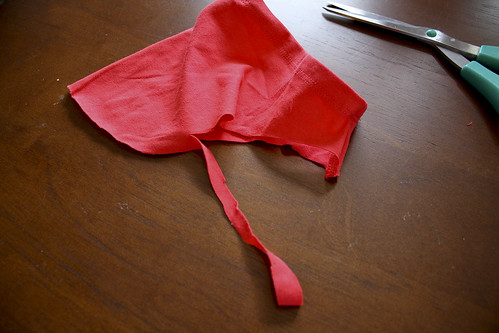
Now for the ties: 
1. Pin the bias tape open around the bottom of each sleeve piece.
2. Sew to the edge of the sleeve, then back stitch a little at the end. Flip the bias tape around, and sew down the tie-all the way down the tie, folding the edge under 1/2″ before sewing it shut.
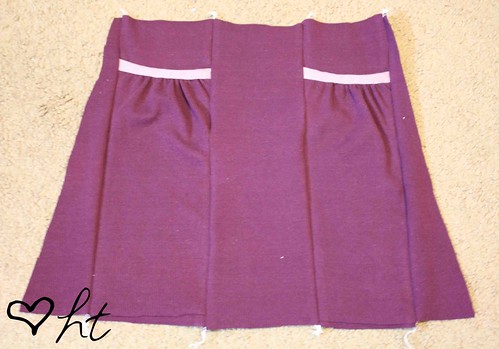
3. Then lay the sleeve pieces at a slight angle, and baste them together at the top.
4. Gather if needed, then pin to your arm holes and sew together. Finish the seams.
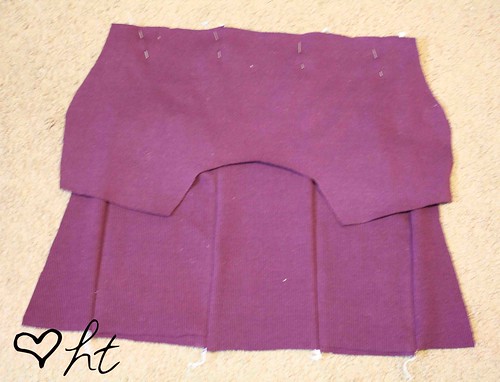
Pin and sew the sleeves and sides, right sides together. Finish your seams.
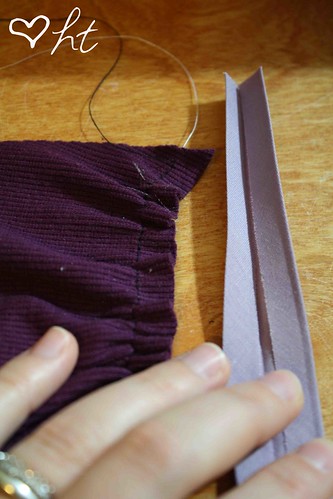
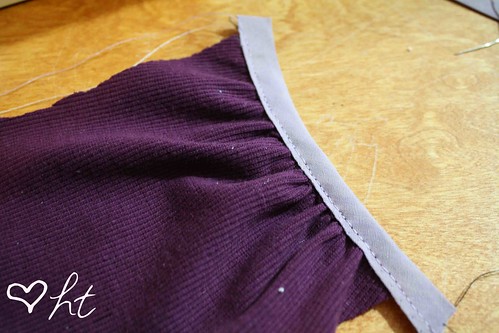
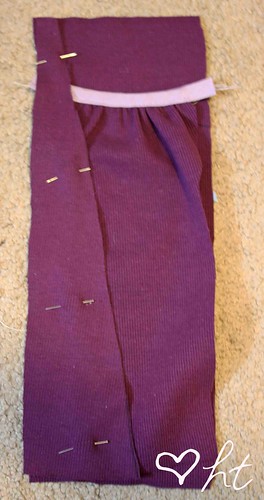
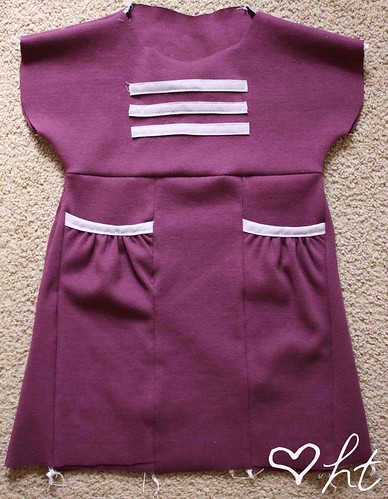
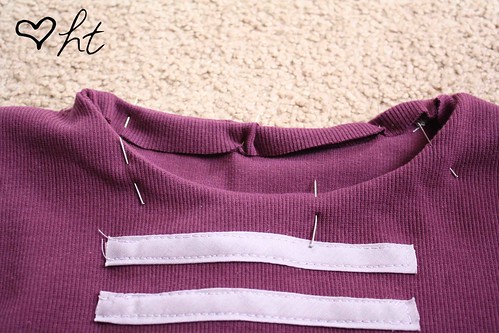
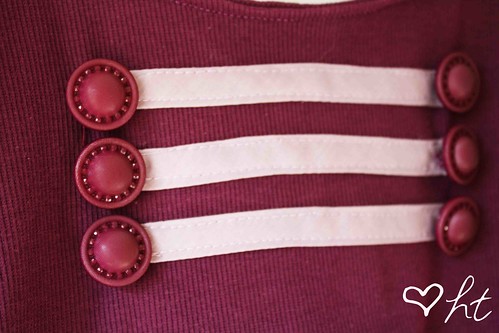
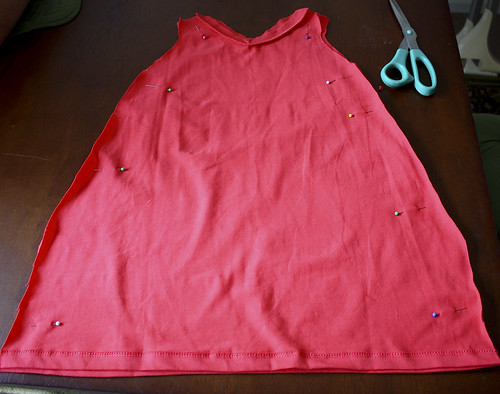
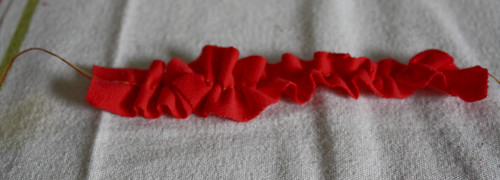
 Then I laid my bias tape down til I liked the spacing and pinned it to my dress, folded side to the shirt.
 I made sure it lined up in the back, then sewed it onto the bodice.
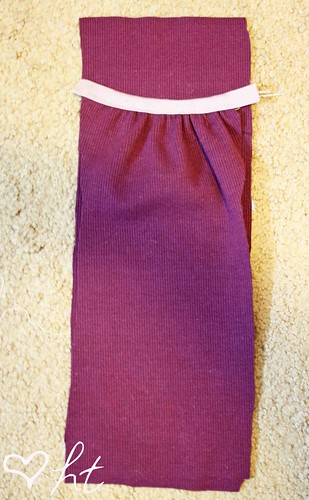
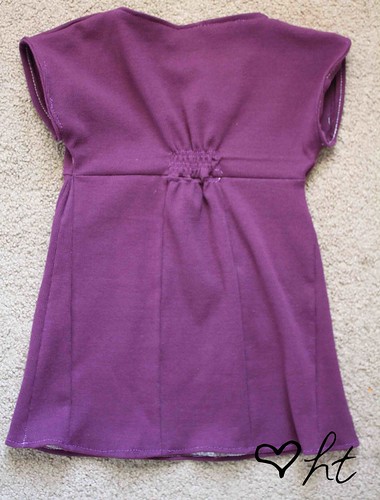
 I didn’t take pictures after this point, but it was basically cutting a rectangle (selvage to selvage) of fabric to the length I wanted, sewing it into a tube, hemming one side, then gathering the other and sewing it to the bottom of the bodice. Then I put my zipper in, sewed on the buttons, and was done. :D

The Military Bias Dress Tutorial


The Military Bias Dress Tutorial

The Military Bias Dress Tutorial

The Military Bias Dress Tutorial
the front

The Military Bias Dress Tutorial
the back
(but again, in hindsight, I think I would have just made the bottom part all 1 piece for the back)
The Military Bias Dress Tutorial

6. Sew on three strips of bias tape to the middle front top. **Again, in hindsight, I recommend you do this before sewing it all together. IT would be way easier.

Finishing Touches:

1. To finish the raw edges around the neck, arms, and bottom, you could do a few things. You could turn it in and sew it down with a double needle which would give you the look like professional knit shirts in the store usually have. You could serge the edges or v-stitch over them. You could add a fabric band, or do it this way: Cut strips of fabric about 1 inch wide and long enough to go around the neck and arm holes, again making sure the stretch is going the same way as the length of the strip (horizontal).

2. Pin one piece around the neck hole, right sides facing. When it comes to the place where then connect, turn one side over a little.
The Military Bias Dress Tutorial

T-shirt to Toddler Dress


What you need:
-T-shirt (mine came from the Dollar Store)
1
-Scissors
-Sewing machine, pins, all that stuff to sew it together
-Child's dress

Ring Around the Rosies Toddler Dress:
1. Lay out your t-shirt and fold it in half so that the front is facing you.
2
Lay the dress on it, also folded in half to find where you need to cut. If the dress is tight on child, try and allow a little extra room in the cut for a seam allowance. I try to make as little as possible for myself to do, so I always have the bottom of the dress on the bottom of the shirt. I didn't cut mine exactly this dress shape, but used it to find the basic shape I needed. Also, since my girl is tall enough now, I was able to line up the neck with it too, leaving the front already done for this one.

2. Cut out dress pieces.
3
4

3. Place the two pieces right sides together and pin in place.
5

4. Sew down the sides, making sure not to stitch where the arm holes are. You can finish them up if you would like to give it extra hold (I use a v-stitch and sew the inside edges together).

5. Sew the top of the shoulders together and finish seams. Turn right side out.
6

6. Optional: If you are blessed and have a serger, you can serge the edges. If you don't, you can use a v-stitch to finish the edges (if you have enough, fold the edges under a bit while sewing it. It looks smoother). Or, just leave them raw.

7. Cut the two sleeves off the part of the shirt that is left.
7
Cut in a little bit at the bottom of one sleeve and begin cutting the edges.
8
Continue in a circular motion all around the arm sleeve, as long as you can. I keep the width of the strips pretty thin, but you can do larger if you like.
The little piece on top is what I had left over.

8. Cut the two now long pieces in half. Three of the pieces will be used to make the roses. The other will be used to make the hair bows.
11

9. Start with the rose in the middle. Make a circle from the end part and pin in place.
12
Continue winding the piece in circles around until you reach the end.
14
15
Tuck the end underneath. Pin.
16
Beginning at the bottom, sew with a smaller stitch setting (the length on mine was 3.0). Make sure to backstitch a bit before and after sewing. Sew in circles around until you come to the middle. Backstitch when finished.
17

10. Do the same with the other two, placing them on opposite sides of the middle one.
18
19
Stitching from the back
Mine!


Hair bows:
Take the long piece of leftover and cut in half.
Hairbows 1
Cut two small pieces from the other leftovers as well. You will need it to tie with. Wrap one of the halves around your hand.
Hairbows 2Hairbows 3
Tie it in the middle with the small piece you cut.
Hairbows 4
Cut the loops on each end open and trim/pull the pieces until you achieve desired look. Sew them onto a hair clip.
Hairbows 5

Ruffles:
Make the dress the same way as in parts 1-6. I used a different dress to cut out the shape for this one. It was shorter and the neck was more of a scoop. Cut the long strips to ruffle from the sleeves, or any other way from the leftovers after cutting the shirt out. You want to cut five pieces. The middle will be the longest, the two beside it will be the same length (but shorter than the middle), and the last two on the outside will be even shorter.
Ruffle 1
There is no definite width or length. Just do it to your liking. Baste down the middle of each strip.
Ruffle 4
Ruffle 3
*If the fabric doesn't feed through well at the beginning, help it along by pulling the tail.*
This means, no backstitching at all. Leave a long tail at the beginning and the end. Make sure the stitch is set to a large width (I put mine at the highest, which is 5).
Ruffle 2
To create the ruffle, pull the bottom thread (this is the thread that came from the bobbin).
Ruffle 5
Ruffle 6
Ruffle 7
To help me out, I tie a knot at one end, and do the pulling from the other. It helps keep the ruffle in place for me. Then, pin the middle one on the shirt. Make sure it is directly in the middle of the shirt. Sew it on. Then, add on the two that go beside that, ending with the smallest ones beside those. I sewed them close together (I had to lift up the side of the one already sewn on so I wouldn't catch it in the stitch).
Preparing for pictures