
What you need:
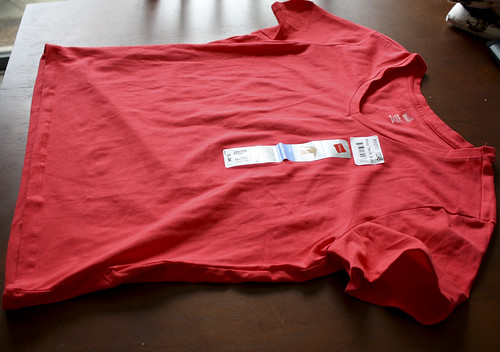
-T-shirt (mine came from the Dollar Store)
-Sewing machine, pins, all that stuff to sew it together
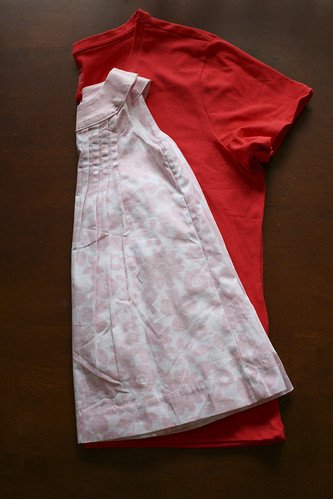
-Child's dress
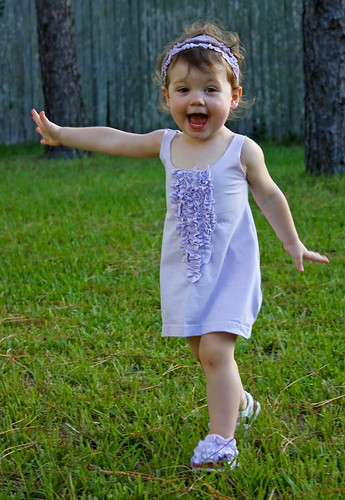
Ring Around the Rosies Toddler Dress:
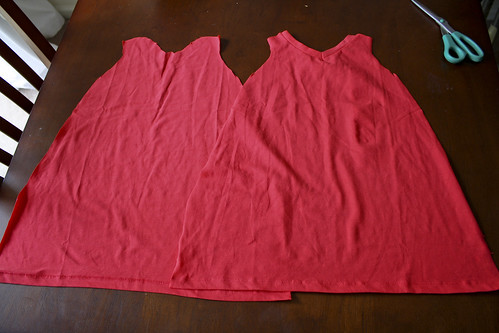
1. Lay out your t-shirt and fold it in half so that the front is facing you.
2. Cut out dress pieces.

3. Place the two pieces right sides together and pin in place.
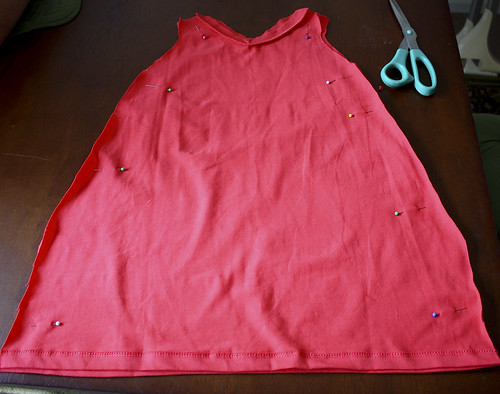
4. Sew down the sides, making sure not to stitch where the arm holes are. You can finish them up if you would like to give it extra hold (I use a v-stitch and sew the inside edges together).
5. Sew the top of the shoulders together and finish seams. Turn right side out.
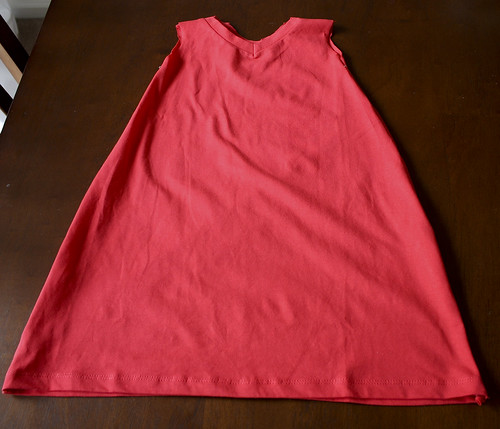
6. Optional: If you are blessed and have a serger, you can serge the edges. If you don't, you can use a v-stitch to finish the edges (if you have enough, fold the edges under a bit while sewing it. It looks smoother). Or, just leave them raw.
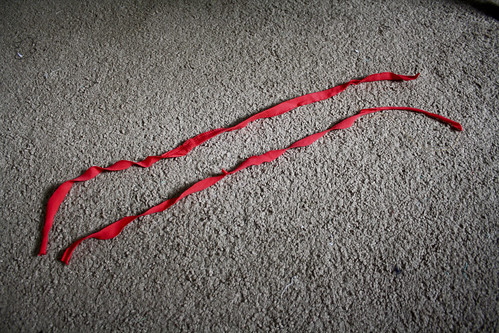
7. Cut the two sleeves off the part of the shirt that is left.

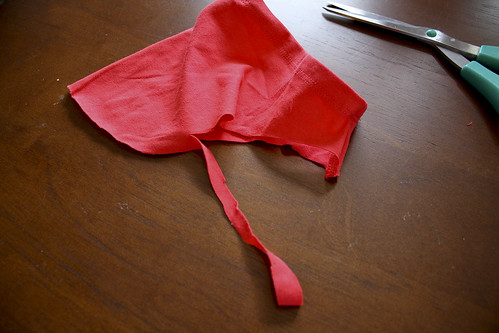

8. Cut the two now long pieces in half. Three of the pieces will be used to make the roses. The other will be used to make the hair bows.
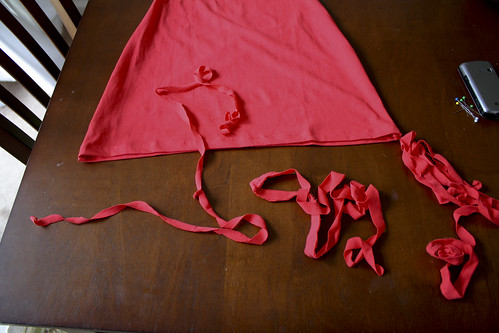
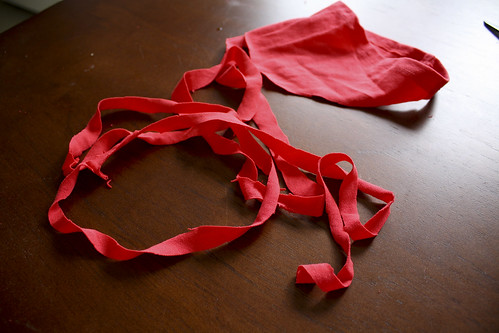
9. Start with the rose in the middle. Make a circle from the end part and pin in place.
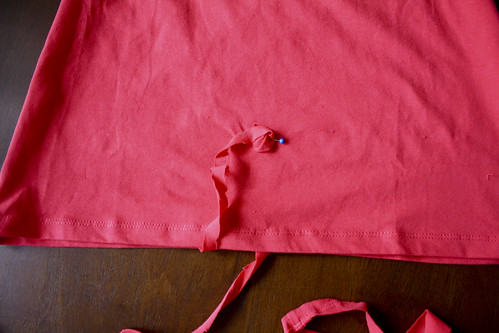
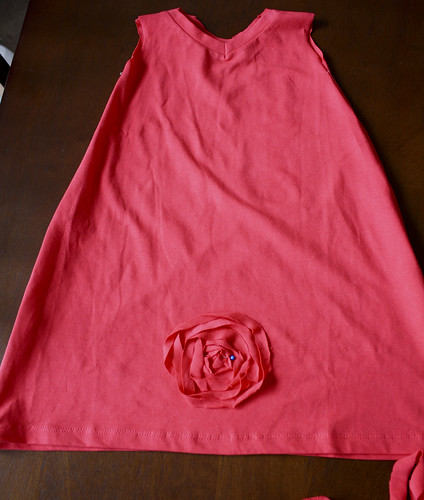
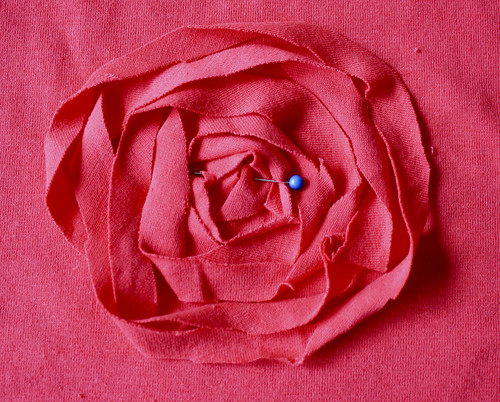
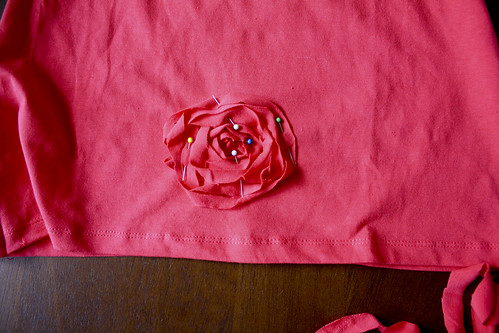

10. Do the same with the other two, placing them on opposite sides of the middle one.


Stitching from the back
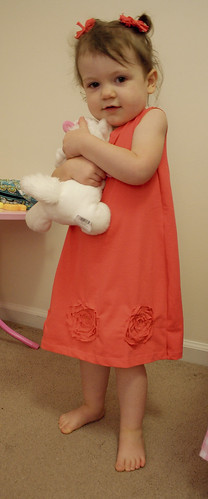
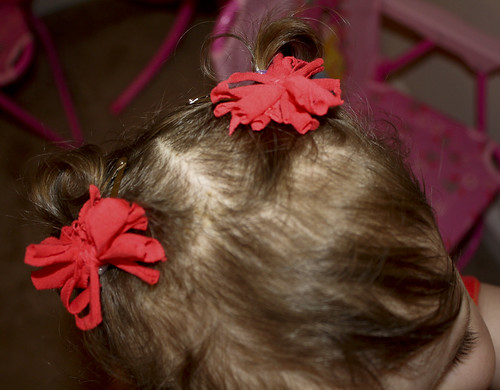
Hair bows:
Take the long piece of leftover and cut in half.
Cut two small pieces from the other leftovers as well. You will need it to tie with. Wrap one of the halves around your hand.
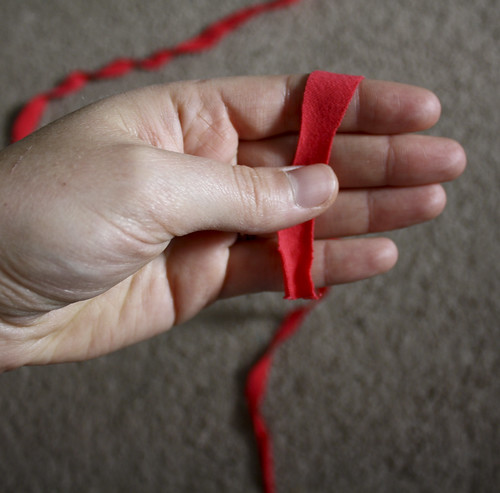
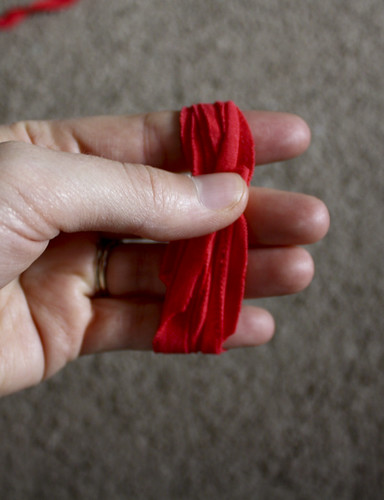
Tie it in the middle with the small piece you cut.
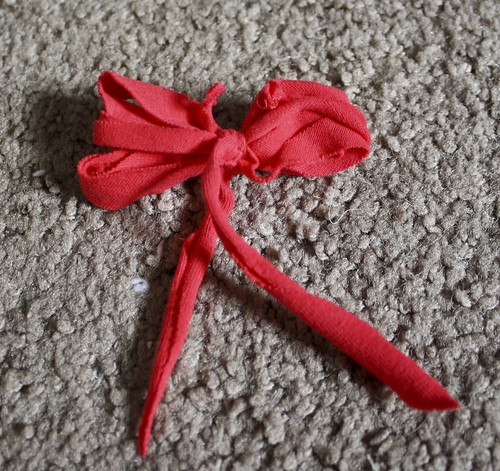
Cut the loops on each end open and trim/pull the pieces until you achieve desired look. Sew them onto a hair clip.
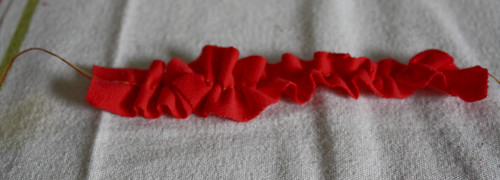
Ruffles:
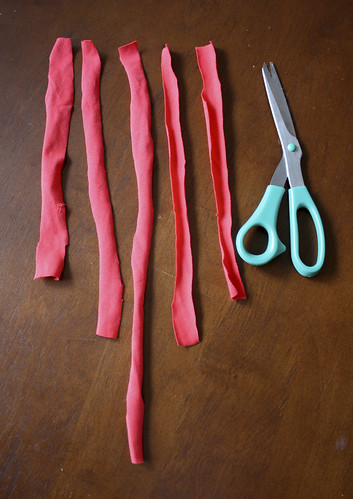
Make the dress the same way as in parts 1-6. I used a different dress to cut out the shape for this one. It was shorter and the neck was more of a scoop. Cut the long strips to ruffle from the sleeves, or any other way from the leftovers after cutting the shirt out. You want to cut five pieces. The middle will be the longest, the two beside it will be the same length (but shorter than the middle), and the last two on the outside will be even shorter.

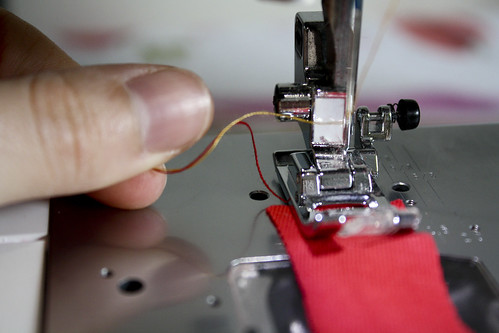
*If the fabric doesn't feed through well at the beginning, help it along by pulling the tail.*


No comments:
Post a Comment