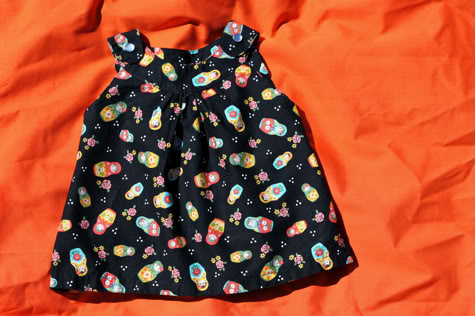
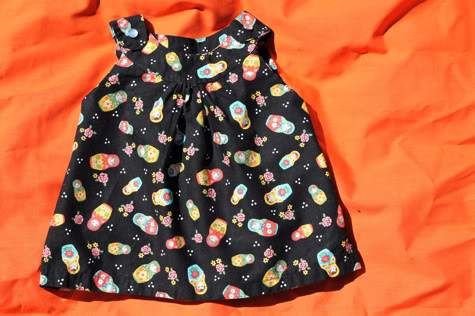
This shirt left me feeling energized and thrilled with the results, so I’m really excited to share the pattern with you!
It’s a snap collar top, but you can make yours a dress.
Materials:
A half yard or less will do it, depending on what size you’re making and whether you want a dress or a shirt.
You’ll also need a couple snaps.If you hate snaps, feel free to use buttons and buttonholes!
1. Start by downloading and printing out the Baby Snappy Toddler Top pattern. Print it at 100% for a 12-18 month size. I printed it tiled at 110%, cut it out, and taped the pieces together to make a size 2T. You want to print on legal size paper (8.5″ X 14″) or standard 8.5″X11″ paper and tape the pieces together. Make sure when printing this or any pattern that your print settings are not set to “shrink to fit”. 99% of the time when people say the item turned out too small, it’s because it was accidentally set to “shrink to fit”.
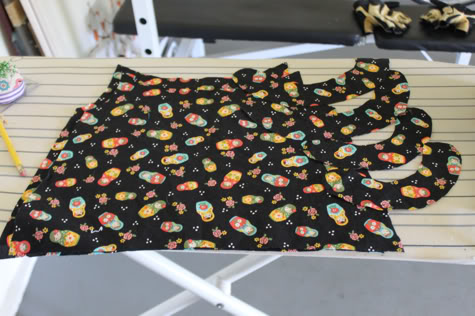
2. Trace the dress body pattern onto the wrong side of your fabric to create the back piece of the dress:
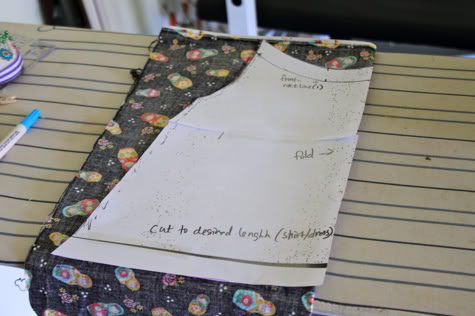
Cut the top of the pattern off at the line labeled “front neckline” and trace another piece that size:
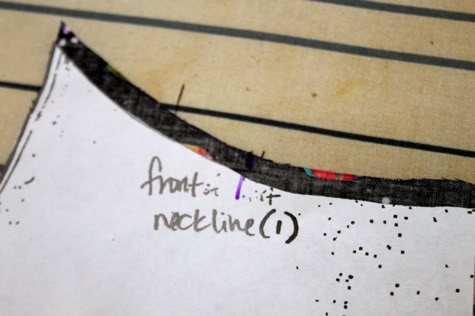
Then cut the neck pieces:
Cut the top of the pattern off at the line labeled “front neckline” and trace another piece that size:
Then cut the neck pieces:
3. Start with the two smaller collar pieces, these will be the front neckline of your shirt. On one of them, the one that will show on the completed shirt, attach a snap front to either side. If you are doing buttons, sew a button on either side instead:
Now take the two pieces and pin them together right sides facing, so the snap is to the inside:
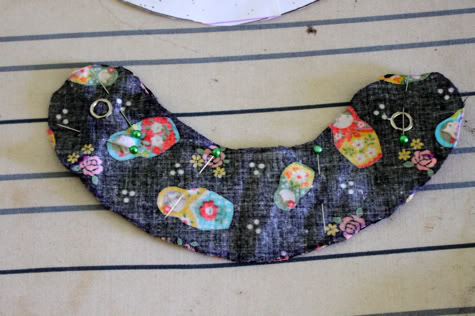
You’ll notice on the pattern that there are two little lines, one on each side. Mark those on the wrong side of your fabric. Sew the two pieces together from one line to the other with 1/4″ seam allowance, leaving the space between the lines un-sewn:
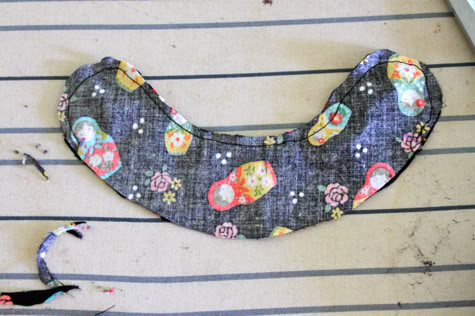
Turn that right side out and iron it flat, with the seam folded in.
Now take the two pieces and pin them together right sides facing, so the snap is to the inside:
You’ll notice on the pattern that there are two little lines, one on each side. Mark those on the wrong side of your fabric. Sew the two pieces together from one line to the other with 1/4″ seam allowance, leaving the space between the lines un-sewn:
Turn that right side out and iron it flat, with the seam folded in.
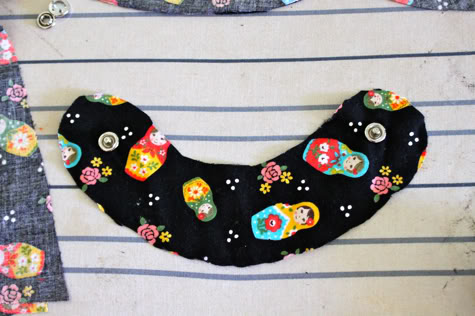
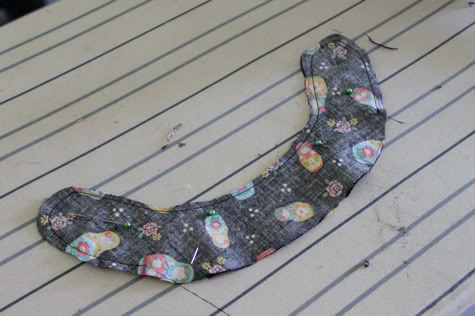
4. Take the two longer neck pieces (this is the back of the collar) and pin them together right sides facing. Like before, mark the lines from the pattern onto your piece. Sew in place from one line to the other with 1/4″ seam allowance:
Turn that inside out and iron it flat, folding the un-sewn opening in.
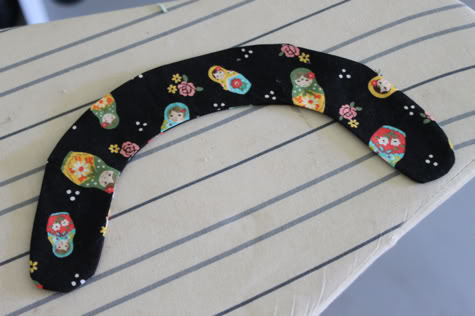
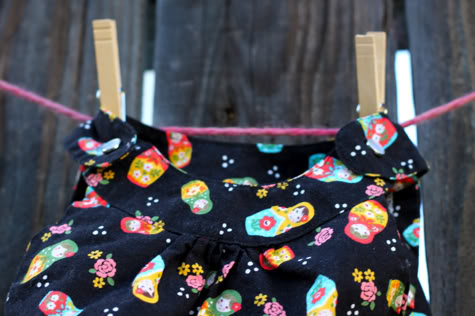
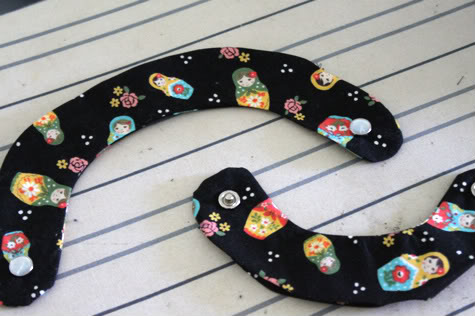
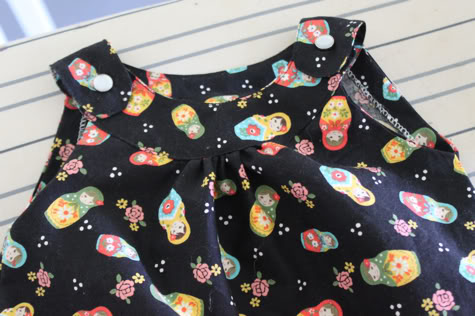
Now attach the other side of the snap, with the pearlized or decorative side on the side of the piece you want showing on your final shirt, the X’s on the pattern mark the spot you want to attach at. If you are doing buttons, sew a buttonhole at each mark. Your completed neck pieces will look like this:
Set those aside.
5. Now take your dress front and back and pin them together right sides facing. Sew up the sides from armhole to the bottom.

Finish the edges by serging, sewing with a zig zag stitch, or cutting with pinking shears and turn right-side out.
Finish the edges by serging, sewing with a zig zag stitch, or cutting with pinking shears and turn right-side out.
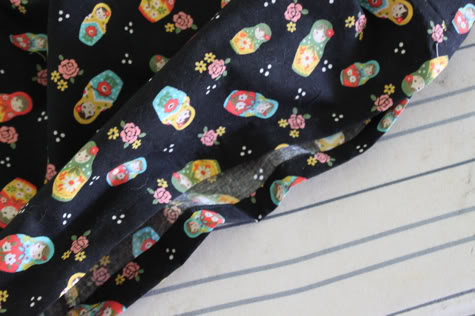
6. To finish the armholes you can use single fold bias tape (like we did for the Most Flattering Shirt Dress), but I didn’t have any black bias tape, so I cut a 3/4″ strip of matching fabric on the bias (diagonal to the selvedges of the fabric) and serged one long edge. You can do the same and finish one edge by hemming or sewing with a zig zag to simulate serging. Open up the armhole and lay your strip right sides facing and pin:
Sew it in place with a 1/8″ or 1/4″ seam allowance:
Flip it over to the inside of the dress and iron it flat:
Repeat on the other armhole.
Sew it in place with a 1/8″ or 1/4″ seam allowance:
Flip it over to the inside of the dress and iron it flat:
Repeat on the other armhole.
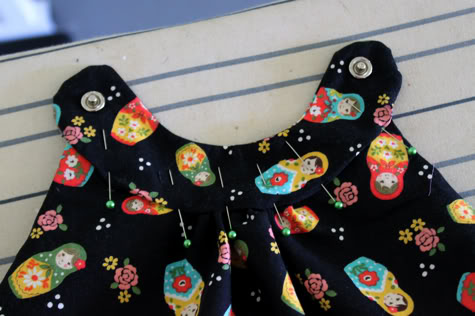
7. Now on the wrong side of the front of your dress, mark the lines from the pattern. Sew a basting stitch in between those lines (a straight stitch set to the longest stitch your machine will allow, usually a 5):
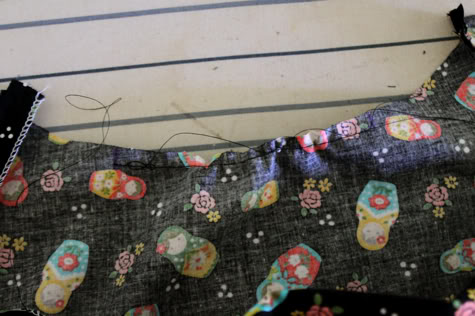
Pull the bobbin thread to gather:
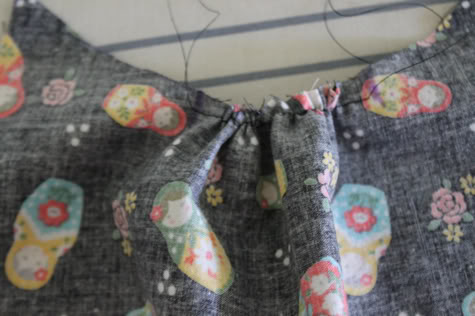
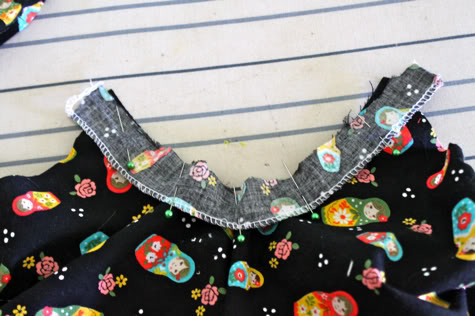
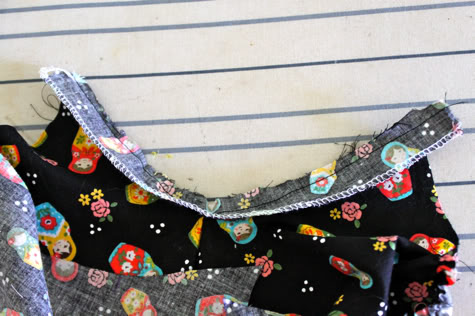
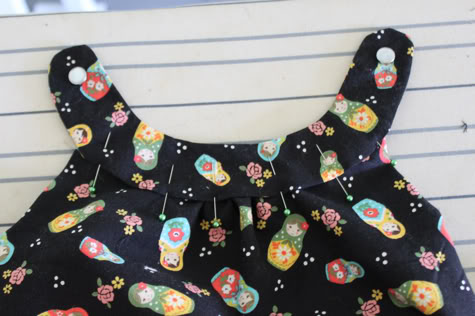
Take your front collar piece and fit the front of the dress into the opening and pin in place. So you just want to gather your basting stitches until it fits:
Sew in place all the way around the collar piece right at the edge like so. (make sure you don’t forget to set your machine back to a normal stitch length like 2.5):
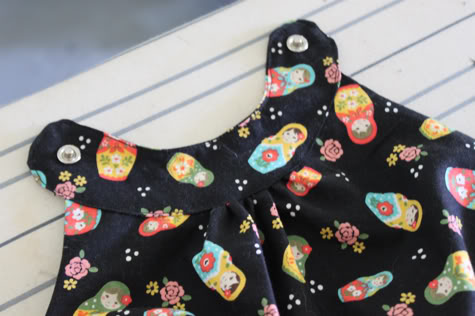
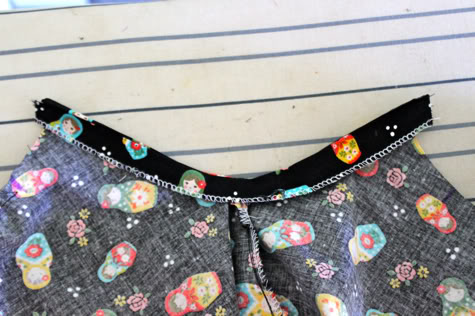
Repeat the gathering on the back piece of your dress, and fit it into the back collar piece. Make sure the decorative side of your snaps is facing up to the right side of the dress:
Sew that in place all the way around the collar piece right at the edge:
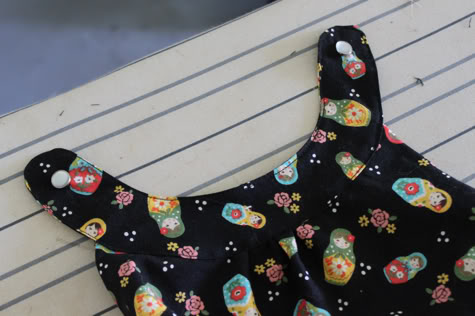
Snap your snaps together, you did it!
Pull the bobbin thread to gather:
Take your front collar piece and fit the front of the dress into the opening and pin in place. So you just want to gather your basting stitches until it fits:
Sew in place all the way around the collar piece right at the edge like so. (make sure you don’t forget to set your machine back to a normal stitch length like 2.5):
Repeat the gathering on the back piece of your dress, and fit it into the back collar piece. Make sure the decorative side of your snaps is facing up to the right side of the dress:
Sew that in place all the way around the collar piece right at the edge:
Snap your snaps together, you did it!
8. Try your top on your model then hem by folding under 1/4″ and ironing, then another 1/4″ and ironing, and stitching in place with a straight stitch or a blind hem stitch:
Finito!
Go play…
No comments:
Post a Comment