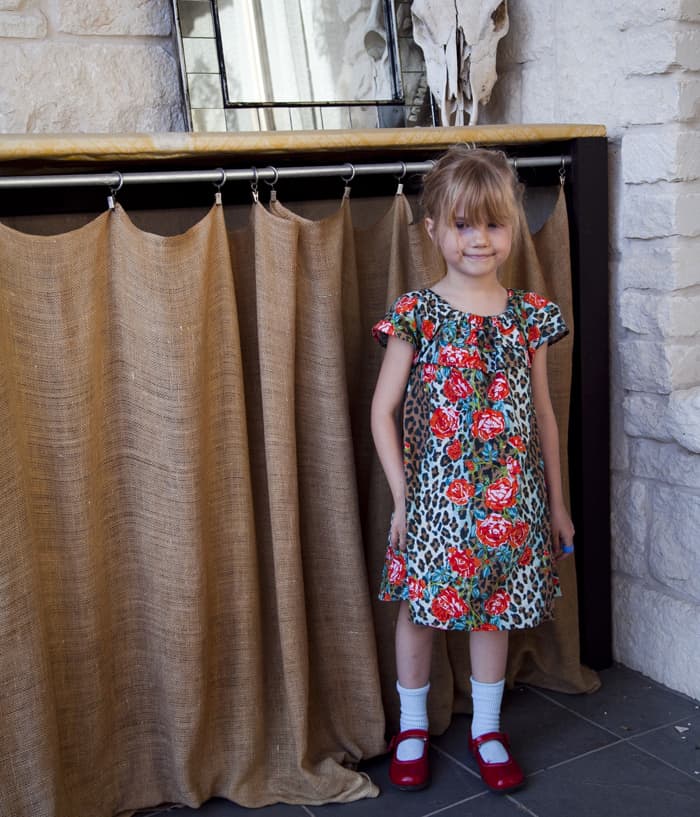
Here is a dress that combines the beauty of cotton with the ease of stretch, in the form of an elastic neckline.
Read on for the free printable pattern and step-by-step tutorial.
For this pattern you will need 1.5 yards of cotton or linen fabric and 22″ – 1/4″ elastic.
1. Print out the pattern at 100% and piece together as shown on first page. Fits most 3-6 year olds (approximately 30-40lbs)
For Reference Only – click link in text for full-size pattern
2. Lay the fold of the dress panel on the fold of the fabric. Cut 2. One for front and one for back.
2. Cut 2 sleeves with fold of pattern piece aligned with fold of fabric.
3. cut 3 – 2″ strips of fabric at 12″, 15″ and 18″, which will be the three tiered layers on the front.
4. Hem one long edge of all three strips 1/4″ and 1/4″ again. Although challenging with linen, anarrow hem foot would be helpful here.

5. Starting right above the arm holes, position your strips. The bottom of the bottom strip should hit at no more than 4.5″ down from the top of the dress because you want the strips to overlap about 1/2″ each.

6. For the top strip, lay the strip, right-side-up under the top of the dress with top edges aligned.

7. Sew along the top edge with 1/2″ seam.

8. Wrap strip up and around front and press flat.


9. Create a casing for the elastic by sewing a straight line through all layers 1/2″ from top edge of dress.

10. Using a zig-zag stitch with a wide stitch width and tight stitch length, sew each of the bottom two strips to the dress.


Set front aside.
11. Hem the edge of the sleeves with 1/4″ + 1/4″


12. Cut 2 – 5″ lengths of elastic and 2 – 5.5″ lengths of elastic. Using a pin, run one of the 5″ through the casing on the front of the dress.
13. When the elastic is pulled through and the fabric is gathered to accommodate, sew each end, through all layers 1/8″ from edge of casing. Note: your seam will not show the front of the fabric as seen in this photo, we made an adjustment for the final tutorial.

14. Create casings along the top of both sleeves and the back of the dress by folding 1/8″ under and then 1/2″ down. Stitch in a straight line along the very bottom edge of each casing. Ignore seam on back panel.

15. Repeat step 13 on the remaining 3 sides with 5″ piece at the back and 5.5″ pieces at the shoulders.

16. Where the sleeve meets the dress, start at the neck and line up the elastic edge. Start with a few front & back stitches to secure and then sew straight down arm hole. It’s OK if the end doesn’t align. Make sure the ends of the front strips get sewn into the arm seam.

17. Fold the seam towards the front of the dress and sew down flat through the front of the dress with several back and forth stitches, creating an approximately 120% degree angle at the neckline.


18. Repeat on other three sides.

19. Now that the dress is folded in half and almost looks finished, let’s sew the side seams. Align the bottom corners of the sleeve as shown below and starting with a few back-stitches, sew from there, all the way down the side seam in a straight line to the bottom corner of the hem.


20. Cut off the edge. Finish your edges with a serger or pinking shears if desired.

21. Hem the dress as desired. We did 1/4″ and then 1.5″ on this one.

No comments:
Post a Comment