Translate

Thursday, February 28, 2013

Crochet Three-Strand Flower Headband


Materials:
- Approximately 19 yd/17 m Caron Simply Soft (shown in Ocean)
- Approximately 4 yd/3-1/2m Caron Simply Soft (shown in Vanilla)
- MC (Ocean) will be the headband base and inner and outer ring of the flower
- CC (Vanilla) will be the inner ring of the flower
- Size H/8/5 mm crochet hook
- Scissors
- Tapestry needle
- Matching sewing thread (optional)
HELPFUL HINT:
This pattern contains instructions on how to make an adult-size headband. However, the head band base can be adjusted to fit smaller-sized heads. Keep in mind that the flower is sewn onto the headband base.
HEADBAND:
Starting with MC, ch 121 and turn.
Row 1: In second ch from hook, sc 20, ch 80, sk next 80 ch, and sc in last 20 sts. Do not turn. (If needed, adjust the “ch 80” in this row to change the size of the headband. For example, a child’s headband for ages 3 to 6 would have approximately ch 70 to 75 instead of ch 80.)
Row 2: Working on the opposite side of the last 20 sc completed in Row 1, sl st in 20 sc, ch 80, sk 80 previous chs, and sl st in last 20 sts. Tie off and weave in ends.
You should now have a linear headband. Each end is the thicker “tie” portion used to tie the head band around the head, with 3 sep arate chains of 80 in the middle of each end.
FLOWER:
Using MC, ch 2 and turn.
Rnd 1: In second ch from hook, sc 12 to form a circle of sts, and sl st to join rnd.
Rnd 2: Ch 3, *[sk 1 sc, sc 1, ch 3]; rep from * around to form 6 loops, sl st into first ch of beg ch-3.
Rnd 3: Using CC, *[sc 1, hdc 1, dc 1, hdc 1, sc 1 in next loop]; rep from * in each ch-3 loop from the pre vious rnd for a total of 6 petals. Sl st to sc 1 of the first petal.
Rnd 4: Continuing in CC, ch 3, *[in hdc of petal, sc 1, ch 3, sc in sc of same petal, and ch 3]. (Each petal should have a sc in the hdc and the last sc.) Rep from * around to form 12 loops, then sl st in third ch of beg ch-3.
Rnd 5: Using MC, *[sc 1, hdc 1, dc 1, hdc 1, sc 1 in next loop]; rep from * in each ch-3 loop from the previous rnd for a total of 12 petals. Sl st to sc 1 of first petal. Fasten off and weave in ends.
Using MC and the tapestry needle, sew the flower onto the headband base on each of the 3 strands. The flower shown on page 58 is placed about 25 stitches from one edge of the headband.
VARIATIONS
* Make the headband and the flower in the same color.
* Add a decorative button to the center of the flower.
* Make the headband part shorter and use it as a cuff bracelet.

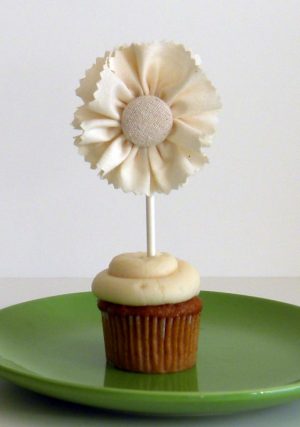
DIY Ruffled Fabric Flower


Supplies:
lollipop sticks
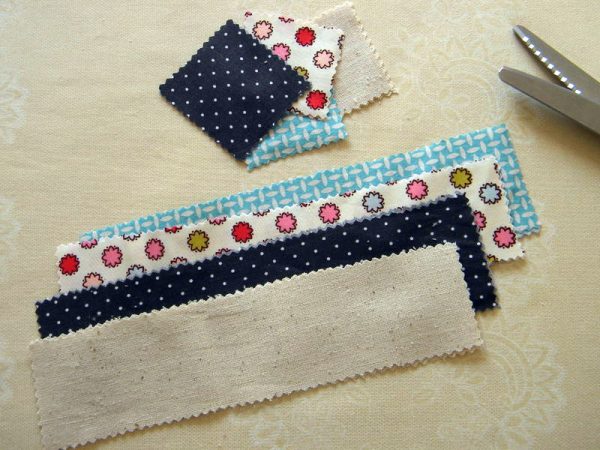
fabric scraps (about 3” x 12”) in coordinating colors
needle and thread
hot glue gun
buttons
pinking shears

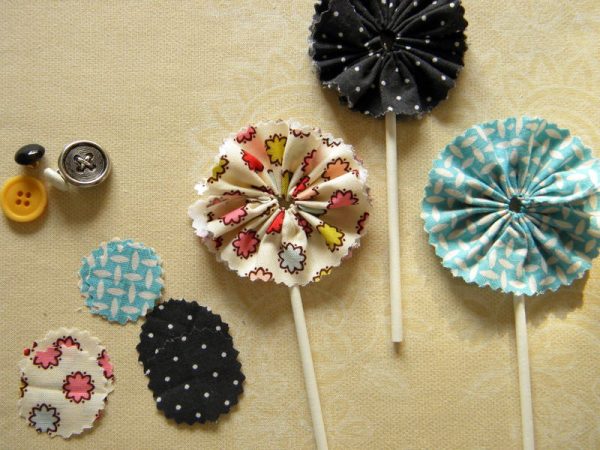
Trim your fabric scraps into 2.5” x 10” with your pinking shears.  Save the leftover squares at the end.


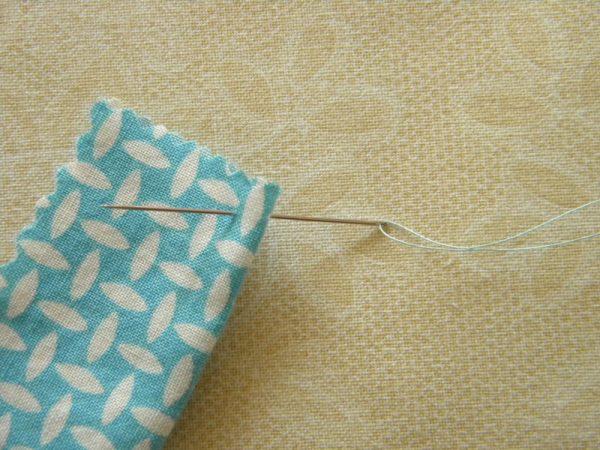
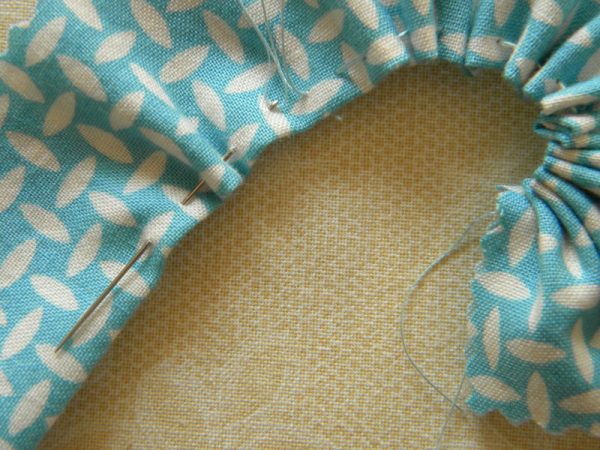
Fold the fabric strip in half lengthwise. Thread your needle and double or triple knot the end of the thread, so it doesn’t pull through. Take the needle and thread and sew a gathering stitch, basically a running stitch, down the folded side, about ¼” from the edge.

Pull the thread taut, producing the gather.

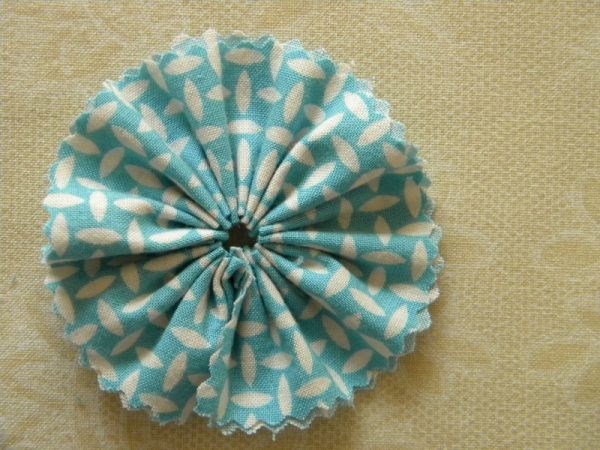
Once fully gathered, tie the two ends together and well knot.  Trim the ends.

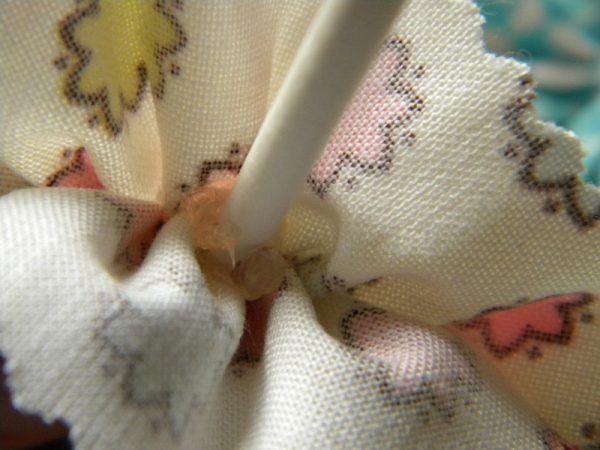
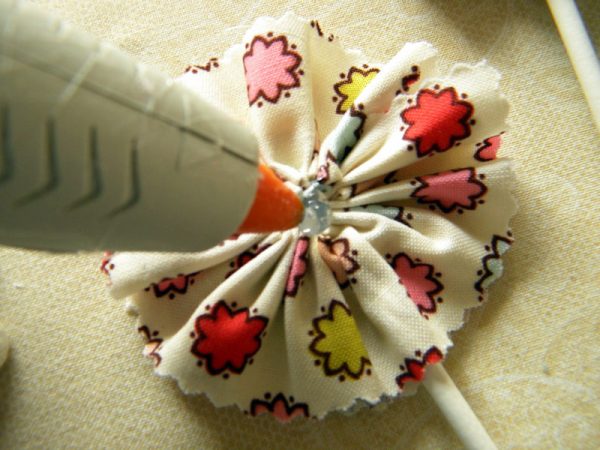
Separate the two layers of fabric and attach a lollipop stick with hot glue.


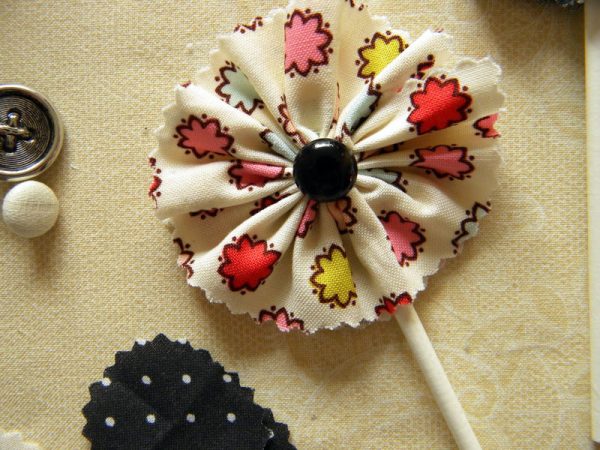
Hot glue buttons in the center or cover the back with fabric circles (cut from the leftover squares). Enjoy!


No Sew Fabric Flowers


How to do them:

Take a rectangle of fabric or felt, fold in half legthways along the red line

Pin along the bottom, shown as a green line. 

Snip at regular intervals at the top as shown by the picture.  

Roll-up the piece on itself, securing in place with a dot of fabric glue or hot glue as you go along (take pins off as you roll..)

Do the same for each layer, surrounding the previous roll and secure with glue at the end. 

You can mix and match fabrics and colours for an interesting contrast.

Do a double, triple flower or simply attach a button or sparkly bead to the center for a bit of bling :)

For brooches, glue a safety pin to a small circle of fabric or felt and then glue to the back of the flower!

Monday, February 25, 2013

Crochet Bakerboy Potholder


Materials:
Worsted weight yarn 1/2 oz each yellow and white, small amount black
Scrap of black felt
Size H crochet hook

Size: 6 1/2" tall

Note: Weave in loose ends as work progresses.

Warning: This potholder is for decorative use only!

Face:
Rnd 1: With yellow, ch 4, join w sl st in 1st ch to form ring, ch 3, 11 dc in ring, join w sl st in top of ch 3 (12 dc).

Rnd 2: Ch 3, dc in same dc, 2 dc in next dc and in each dc around, join as before (24 dc).

Rnd 3: Ch 3, 2 dc in next dc, *dc in next dc, 2 dc in next dc, rep from * around, join as before (36 dc).

Rnd 4: Ch 3, rep Rnd 3, fasten off (54 dc).

Hat:
Row 1: Turn work over, join white w sl st in 4th dc to right of 1st dc (beg ch 3) of Rnd 4, ch 3, dc in each of next 8 dc (9 dc).

Row 2: Ch 3, turn, dc in each dc across (9 dc).

Row 3: Ch 3, turn, 3 dc in same dc, dc in each of next 7 dc, 4 dc in last dc (15 dc).

Row 4: Ch 3, turn, 3 dc in same dc, dc in each of next 6 dc, ch 8, sl st in top of last dc for hanging loop, dc in each of next 6 dc, 4 dc in last dc, sl st in same dc, finish off (21 dc).

Eyes:
Cut 2 dime-sized circles from black felt. Glue to face as shown.

Using black yarn, embroider mouth as shown.

Sunday, February 24, 2013

Girl Sun Dress Sewing Tutorial

This dress tutorial is for a size 18 month – 2T. I will include a few tips on adjusting the size at the very end. There are no buttons or zippers on the back. The button you see at the neckline holds that side together. I can get this dress on and off my little B without any problems. 
The dress takes about 2-3 hours to make. So although it is easy, it does take some time. 

What You Need: 
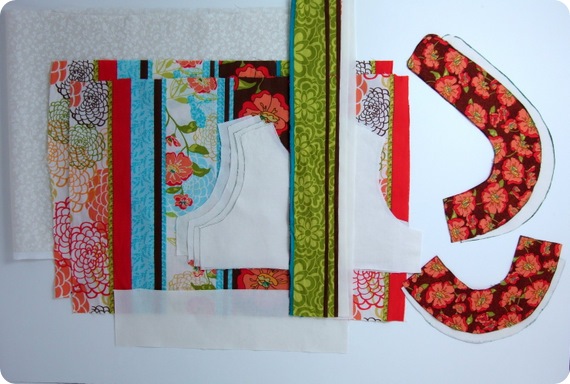
-Four pieces of fabric cut using Pattern A (downloadable pattern piece HERE). Cut two lining, two outer fabric. (So one outer, one lining for piece 1, and one outer, one lining for piece 2) 

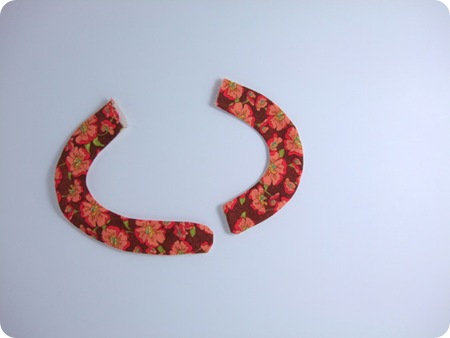
-Four pieces of fabric cut using pattern B (downloadable pattern piece HERE). Cut two outer and 2 lining, for around neck 

-Two 18.25” x 12” pieces of patterned fabric for the bottom portion. OR, one rectangle piece measuring (I used the two 18.25” pieces because I wanted the patterns to be symmetrical) 

-One 36” x 12” piece fabric for lining 

-Two 12” x 3” pieces fabric for middle triangle (can be plain like I did, or coordinating fabric) 

-Two 60” x 2.5” strips knit for ruffles 

-Four 2” x 18” pieces of fabric for ties (two pattern, two lining) 

*Please note that all seam allowances are 1/4” (in case I forgot to put it somewhere)* 

DSCF8583

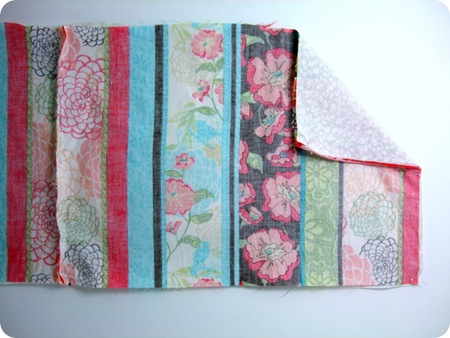
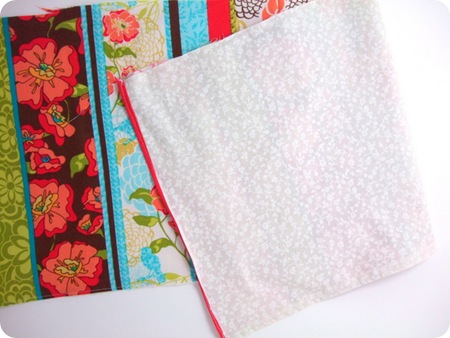
Step 1: Start by sewing the two 18.25” pieces together just along one side. Then sew 1/4” seam around 3 sides (leaving the top long side open) with the outer and lining fabric right sides together. 
DSCF8585
Clip the bottom two corners, turn right side out, and topstitch around the three sides you sewed together. 
DSCF8586
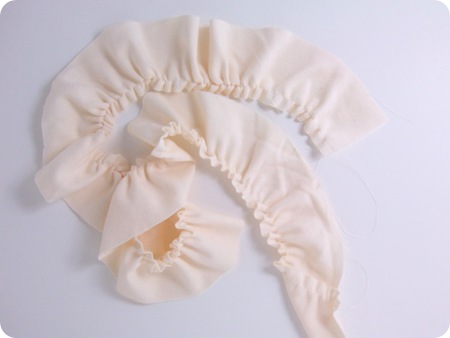
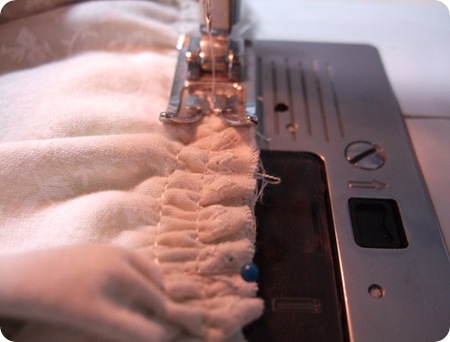
Step 2: Onto the best part, right? Ruffles! Take the two 60” strips of knit and sew a basting stitch. Pull from either side to ruffle. 

DSCF8587
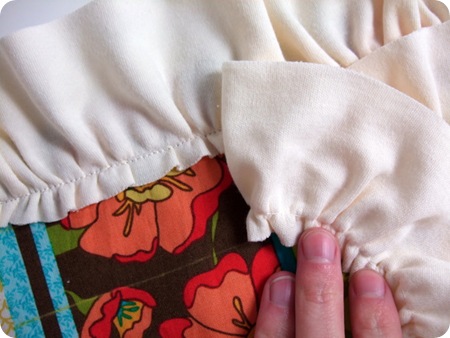
Mark with a non-permanent pen/pencil/chalk on your bottom portion where you want to sew the ruffles on. Sew them on following your basting stitch. 

DSCF8589
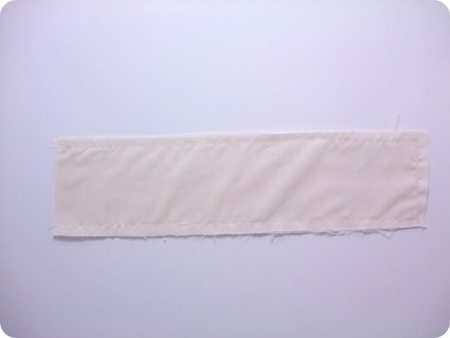
Step 3: Take the two 12” x 3” pieces, and sew around 3 sides, leaving one of the short sides open. 
DSCF8590
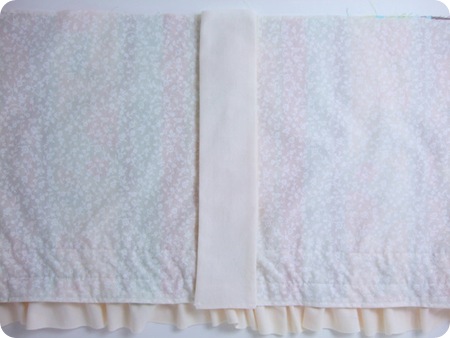
Slip corners and turn. Place in the middle of the lining fabric on the bottom portion you’ve been working with. 

DSCF8591
Fold the piece in towards the middle, making the top hit near the middle of the small rectangle and the bottom lining up with the corner, to create a triangle shape. See next two pictures to better understand:). 
DSCF8592


DSCF8593

Pin and sew using a topstitch. I didn’t want to sew my ruffle down so I just skipped it and then started underneath it. 

DSCF8594
Zig-zag stitch or serge along the unfinished edge of the bottom portion. Set aside. 

DSCF8595
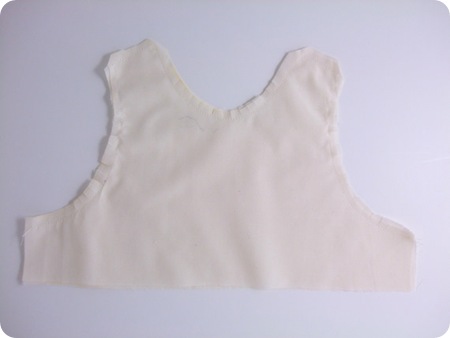
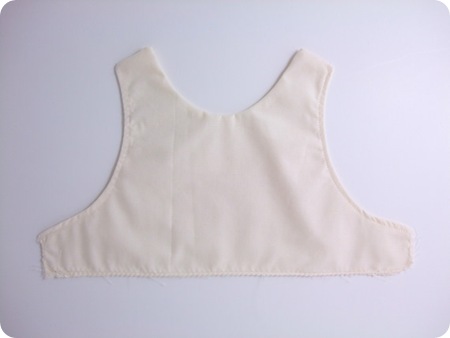
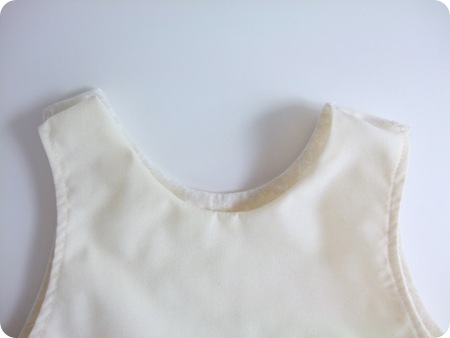
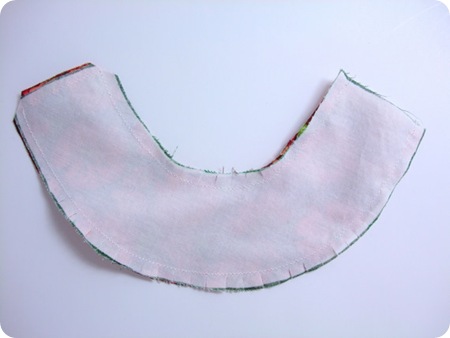
Step 4: Take one of the outer and one inner of Pattern B. Sew together along arm holes, strap part, and neck. Leave the sides and bottom open. Clip corners and clip all around curved areas. 


DSCF8605

Turn and zig-zag or serge the sides and bottom. Topstitch around the armholes. Repeat with the other two pieces. 

DSCF8607
Now take the two upper portions of the dress and zig-zag stitch together the left arm hole (if you were wearing it).
DSCF8609
You can’t see it very well, but the left arm hole is sewed, and the right is left open. 
DSCF8610
Step 5: Let’s take the four 2” x 18” strips of fabric and make the ties. Take a pattern and a lining piece, right sides together, and sew, leaving one short side open. Clip corners, turn, and topstitch around it. No need to tuck in the unfinished side. Just sew a seam there too. Repeat with other strips of fabric to make the other tie. 
DSCF8598
Place one of the ties in between the right sides of the two upper portions of dress. (I did fix Pattern B to allow for more space for the strap to fit). 

DSCF8608
Sew 1/4” seam, then turn and topstitch the tie towards the back like pictured. Repeat with other strap. 
DSCF8601
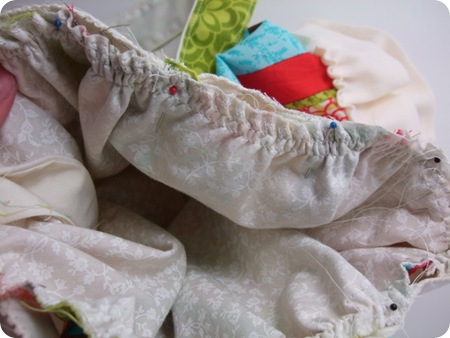
Step 6: Take your bottom portion and sew two basting stitches around the entire top of it and pull to gather. 
DSCF8611
Keep gathering and adjusting so that it fits the top portion. Pin and sew along the bottom basting stitch. See second picture below? You are putting the right sides together of the bottom and upper parts of the dress. 
DSCF8613
DSCF8614
DSCF8616


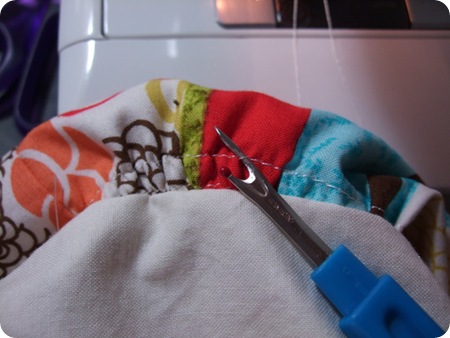
If you did not sew along the bottom basting stitch like me then unpick it if you want:). 

DSCF8617
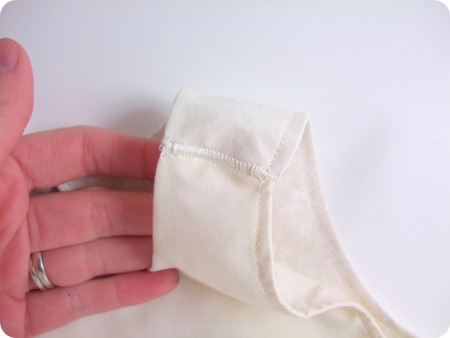
Step 7: Take the two fabric pieces cut from Pattern A, Piece 1, and sew together, leaving one of the short sides open. Clip corners and curves. Turn. Repeat the same steps with Piece 2. 
DSCF8596So you’ll have two pieces like this, both with one unfinished edge. 
DSCF8627
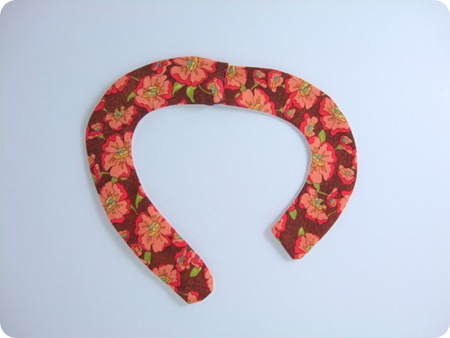
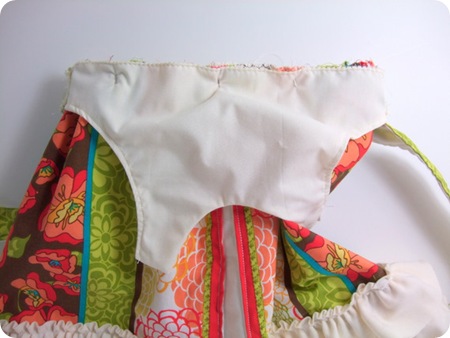
Place around the neckline to determine this next part. You aren’t sewing it on the dress yet, you are just making sure that the pieces are matching up to know where to sew. Tuck one of the unfinished ends in, and place the other raw edge inside that. Sew together. 

DSCF8629
So you’ll have this: 

DSCF8630
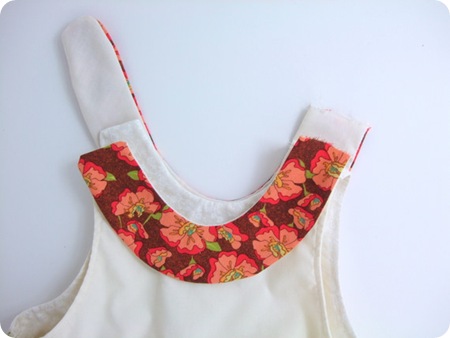
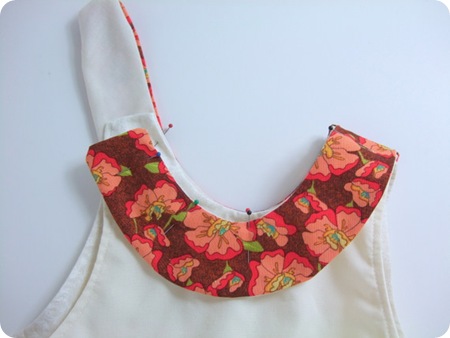
Step 8: Now pin it around the neckline. 


DSCF8631

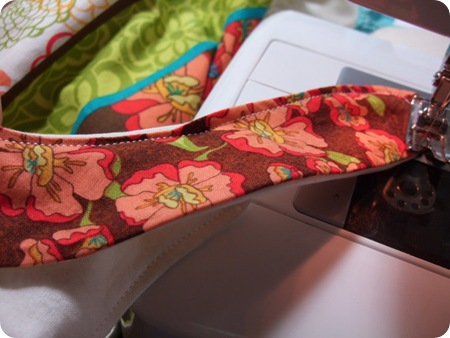
Topstitch, starting at the top of the shorter curved piece (on the front of the dress). Go all around to the back and up the flap, and just keep topstitching around the whole thing, back around the bottom of this neck piece. 

DSCF8632

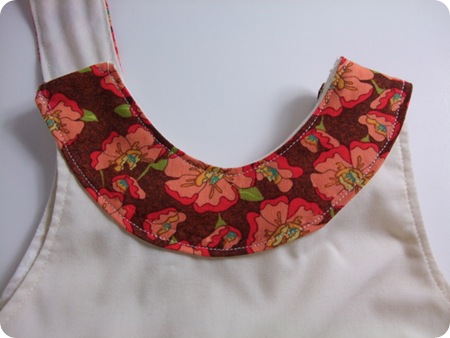
So you’ll have this now. 


DSCF8634

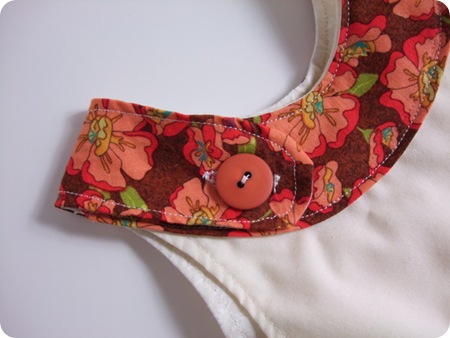
Mark where you want the button and buttonhole and sew those. You could maybe do a fake button with velcro, snaps, or a hook & eye. I wanted a button just for strength. 

DSCF8645

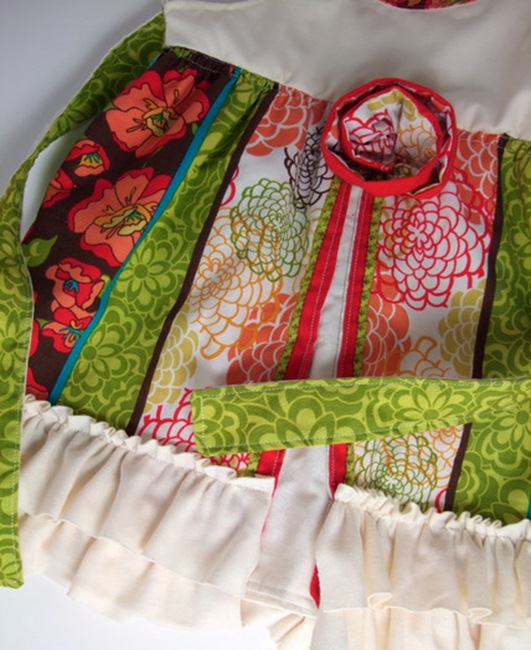
Attach a flower in the middle and you are done! 

DSCF8653

Car CD Holder Sewing Tutorial


    Materials

  • 1/6 yd Pellon Peltex (or at least 6″ of yardage – I actually had enough leftover from other projects)
  • fat eighth of main print for backing and front background
  • scraps!
  • 1 pkg extra wide double fold bias tape (or make your own)
  • 2 – 6″ pieces of elastic (more or less depending on the stretch of the elastic and how large your sun visors are in your car – you can test your elastic by stretching it around the back of your visor, bringing it to the front about two inches on the top and bottom)

    • Scraps

    You can make this with 22 small scraps (4.5″ x 6″ pieces) or 11 larger scraps (9″ x 6″). I’ll show you how to use both options (I actually use a combination of both).
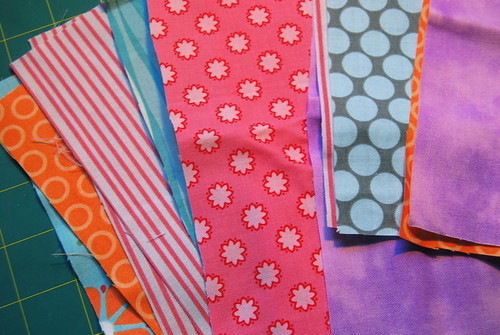
    To begin, you need to choose the fabrics you would like to use. I gathered up a couple piles of scraps that I thought might go together. Grab everything you like; you can filter out the not-so-great ones later.
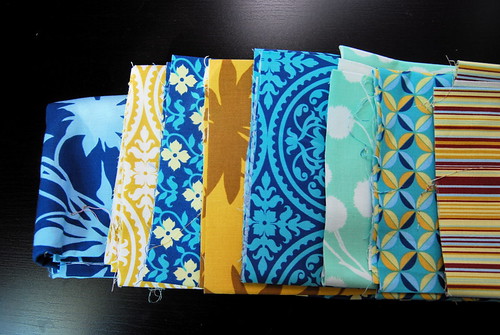
    You can go matchy-matchy (all fabrics from one line, maybe some left over from a quilt) like these:
    puking patterns - 211
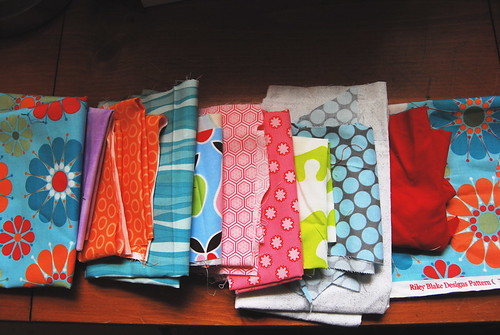
    Or pick one larger print and match the other scraps to it like this pile:
    puking patterns - 210
    I decided to go with the latter. I weeded out the ones that I didn’t like as much at this point. Once you’ve picked your scraps, it is time to cut!
      Cutting
    1 – 13.75″ x 5.75″ rectangle of Peltex
    2 – 13.75″ x 5.75″ rectangles of the large print (I’ll call these “main panels” from now on)
    puking patterns - 214
      Next, cut:

    22 – 4.5″ x 5.75″ pieces of scraps
    OR
    11 – 9″ x 5.75″ pieces of scraps
    puking patterns - 213 OR puking patterns - 215
    You’ll end up with a nice pile of rectangles:
    puking patterns - 216
      Fuse

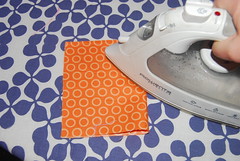
    Next you need to fuse one of your main panels to one side of your Peltex. Iron lightly just enough so it sticks. Peltex is fusible on both sides, so you don’t want to iron your project to your ironing board. You could also put wax paper down underneath as you iron.
    puking patterns - 217
    If you are using the 22 smaller scraps, you’ll need to decide which ones you want to show (half of them will be inside the pockets, so they wont’ show). Take these 11 and pair them with the 11 you don’t want to show. Sew each pair together on the longer side (5.75″) with a 1/4″ seam allowance.
    puking patterns - 223
    Iron the seam open.
    puking patterns - 224
    And fold the piece, wrong sides together. Press.
    puking patterns - 225
    Now, if you’re using the larger (9″ x 5.75″) scraps, fold each one in half, matching the short ends with wrong sides together.
    puking patterns - 218 puking patterns - 219
    Now that your pockets are all pressed and ready to go, you need to decide what order you want them in. Lay them out on top of your Peltex (on the side with the fabric fused on already).
    puking patterns - 227
      Sew

    Take your Peltex and the first pocket piece (the one on the very left) and place the fold of the pocket 1 3/4″ from the raw edge of the Peltex as shown below:
    puking patterns - 229
    Sew it down on the right side using a 1/4″ seam allowance.
    puking patterns - 228
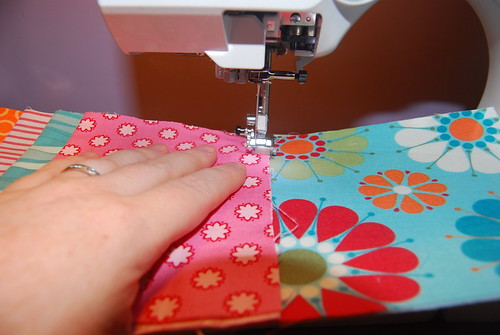
    Grab the next pocket piece from your pre-arranged pile and place the fold 3/4″ from the fold of the first pocket. Sew a 1/4″ seam on the right side.
    puking patterns - 230
    Repeat this step with the next 9 pocket pieces, sewing each one down. You might want to lay them all out and check the intervals making sure the last piece matches up with the raw edge on the right end before you sew.
    puking patterns - 231
    Once all of your pockets have been sewn on, baste the raw edges down on the long sides of the Peltex.
    puking patterns - 233
    Now you need to fuse the other main panel to the back side of the Peltex. Press this one for a long time to ensure you have a good bond. Turn it over and press all your pockets as well.
    puking patterns - 234
    Place your elastic pieces 3 5/8″ from each end of the Peltex. Sew the ends on 1/4″ from the raw edges.
    puking patterns - 235
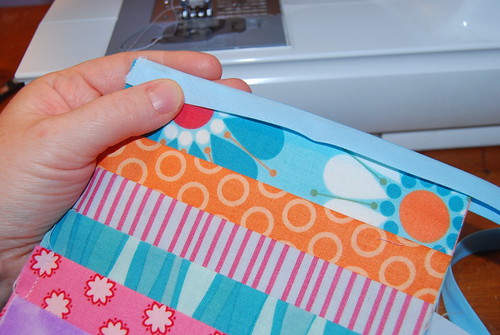
    Now you’re ready to bind it. Take your bias tape and open it up to show the center crease.
    puking patterns - 237
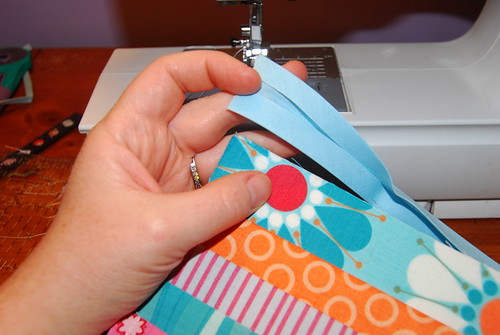
    Starting on a corner, Place the edge of your CD holder inside the middle crease of the bias tape. Pin carefully, especially through the areas that are the thickest. Sew your tape close to the edge, mitering the corners: at each corner you want the crease to continue running along the raw edge of your project. As you turn the corner, fan open the bias tape and continue running the crease along the next edge for an inch or so. Then fold the bias tape closed again, laying each side down on the front and back. This will make a nice corner, making a 45 degree fold at the corner.
    puking patterns - 238
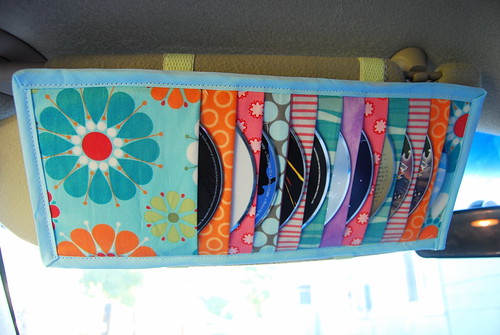
    At the end, fold under the bias tape so that no raw edges are left exposed. Voila! Chic CD holder:
    puking patterns - 239
    puking patterns - 243
    Now fill it with your favorite CD’s, put it in your car, and put on some tunes (or books on CD to keep the kids entertained!).
    puking patterns - 246