
- Materials
- Scraps
You can make this with 22 small scraps (4.5″ x 6″ pieces) or 11 larger scraps (9″ x 6″). I’ll show you how to use both options (I actually use a combination of both).
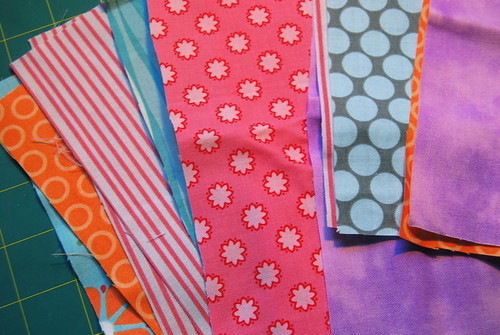
To begin, you need to choose the fabrics you would like to use. I gathered up a couple piles of scraps that I thought might go together. Grab everything you like; you can filter out the not-so-great ones later.
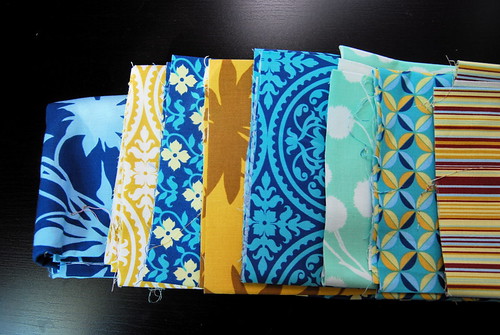
You can go matchy-matchy (all fabrics from one line, maybe some left over from a quilt) like these:
Or pick one larger print and match the other scraps to it like this pile:
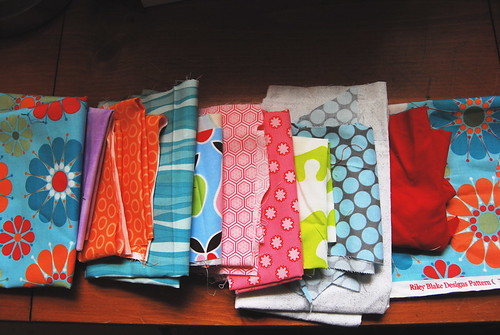
I decided to go with the latter. I weeded out the ones that I didn’t like as much at this point. Once you’ve picked your scraps, it is time to cut!
- Cutting
1 – 13.75″ x 5.75″ rectangle of Peltex
2 – 13.75″ x 5.75″ rectangles of the large print (I’ll call these “main panels” from now on)
2 – 13.75″ x 5.75″ rectangles of the large print (I’ll call these “main panels” from now on)

- Next, cut:
22 – 4.5″ x 5.75″ pieces of scraps
OR
11 – 9″ x 5.75″ pieces of scraps
OR
11 – 9″ x 5.75″ pieces of scraps
 OR
OR 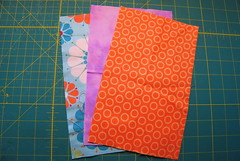
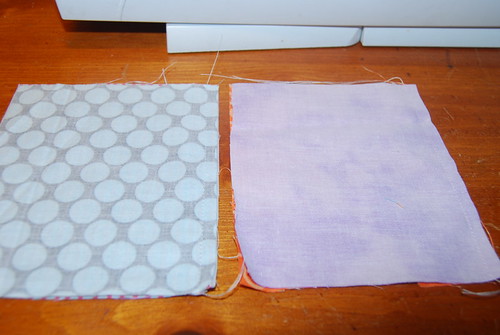
You’ll end up with a nice pile of rectangles:
- Fuse
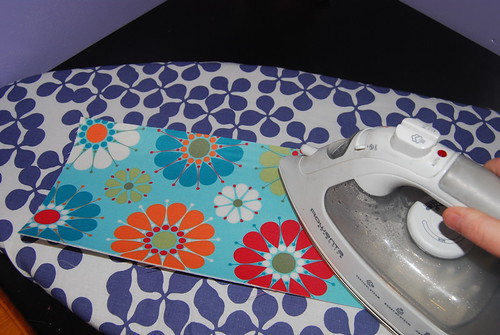
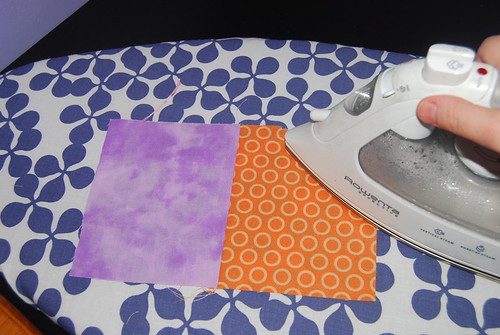
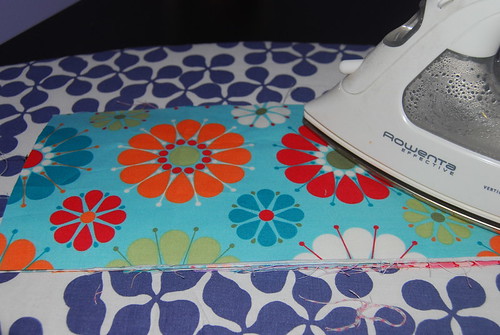
Next you need to fuse one of your main panels to one side of your Peltex. Iron lightly just enough so it sticks. Peltex is fusible on both sides, so you don’t want to iron your project to your ironing board. You could also put wax paper down underneath as you iron.
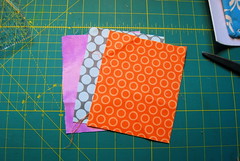
If you are using the 22 smaller scraps, you’ll need to decide which ones you want to show (half of them will be inside the pockets, so they wont’ show). Take these 11 and pair them with the 11 you don’t want to show. Sew each pair together on the longer side (5.75″) with a 1/4″ seam allowance.
Iron the seam open.
And fold the piece, wrong sides together. Press.
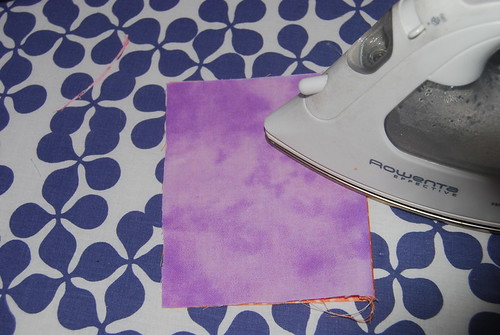
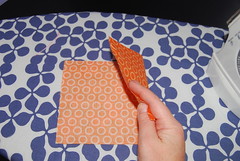
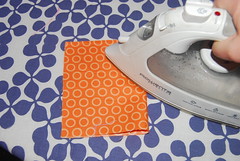
Now, if you’re using the larger (9″ x 5.75″) scraps, fold each one in half, matching the short ends with wrong sides together.
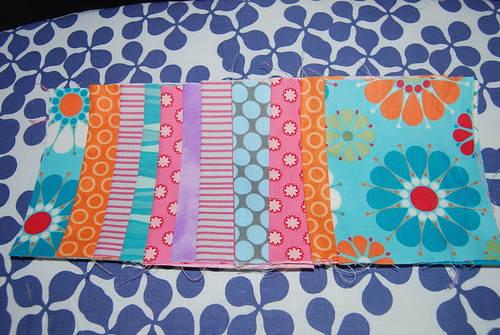
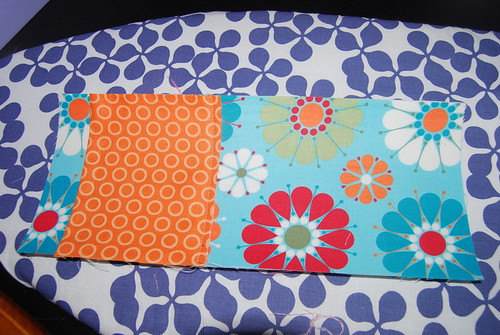
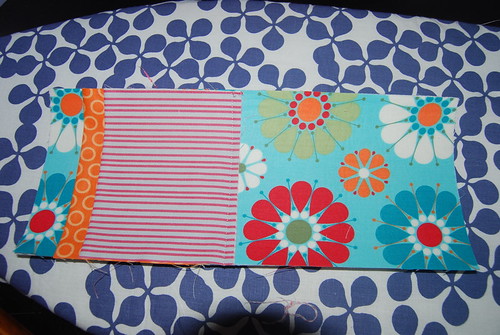
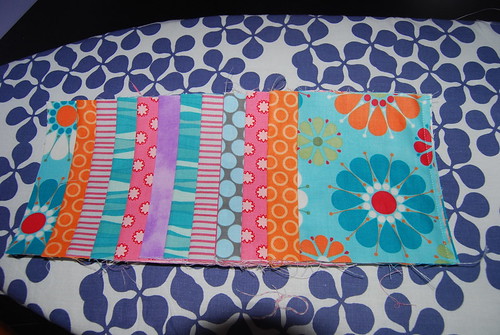
Now that your pockets are all pressed and ready to go, you need to decide what order you want them in. Lay them out on top of your Peltex (on the side with the fabric fused on already).
- Sew
Take your Peltex and the first pocket piece (the one on the very left) and place the fold of the pocket 1 3/4″ from the raw edge of the Peltex as shown below:
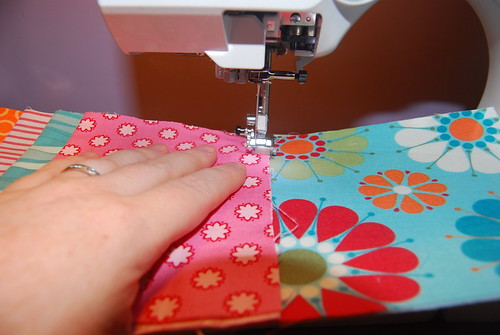
Sew it down on the right side using a 1/4″ seam allowance.
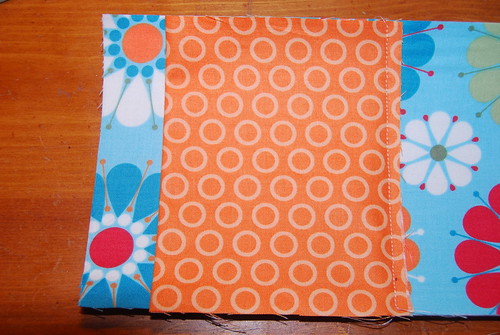
Grab the next pocket piece from your pre-arranged pile and place the fold 3/4″ from the fold of the first pocket. Sew a 1/4″ seam on the right side.
Repeat this step with the next 9 pocket pieces, sewing each one down. You might want to lay them all out and check the intervals making sure the last piece matches up with the raw edge on the right end before you sew.
Once all of your pockets have been sewn on, baste the raw edges down on the long sides of the Peltex.
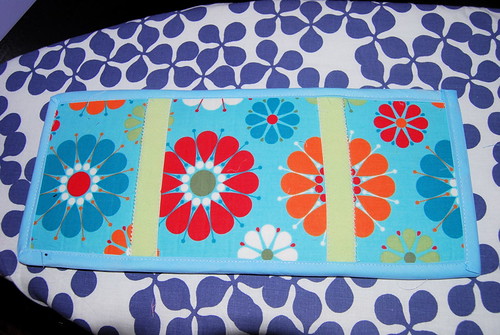
Now you need to fuse the other main panel to the back side of the Peltex. Press this one for a long time to ensure you have a good bond. Turn it over and press all your pockets as well.
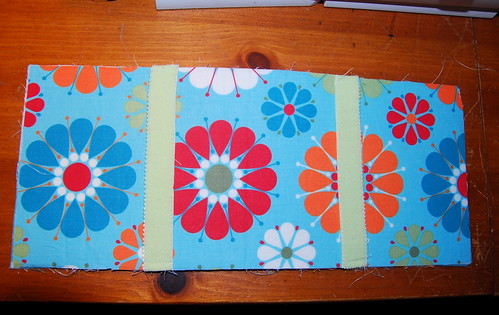
Place your elastic pieces 3 5/8″ from each end of the Peltex. Sew the ends on 1/4″ from the raw edges.
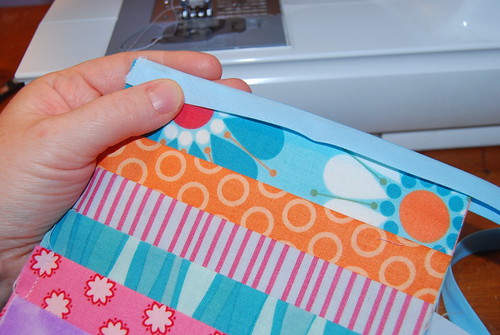
Now you’re ready to bind it. Take your bias tape and open it up to show the center crease.
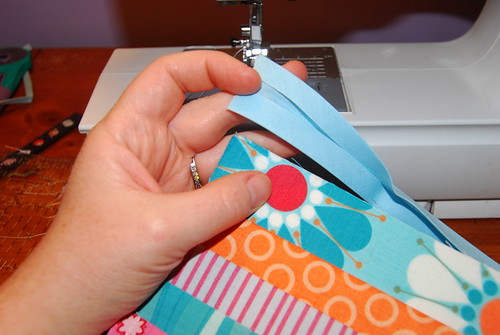
Starting on a corner, Place the edge of your CD holder inside the middle crease of the bias tape. Pin carefully, especially through the areas that are the thickest. Sew your tape close to the edge, mitering the corners: at each corner you want the crease to continue running along the raw edge of your project. As you turn the corner, fan open the bias tape and continue running the crease along the next edge for an inch or so. Then fold the bias tape closed again, laying each side down on the front and back. This will make a nice corner, making a 45 degree fold at the corner.
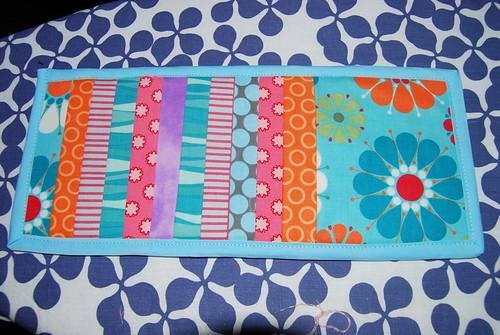
At the end, fold under the bias tape so that no raw edges are left exposed. Voila! Chic CD holder:
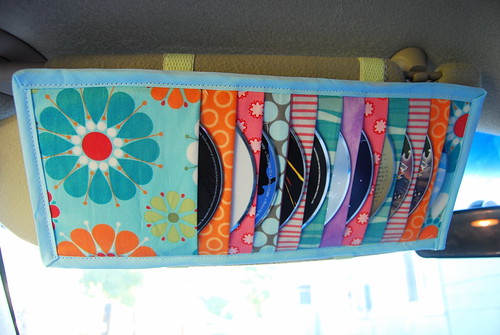
Now fill it with your favorite CD’s, put it in your car, and put on some tunes (or books on CD to keep the kids entertained!).
No comments:
Post a Comment