1. So download the free slipper pattern and print it out here: Prudent Baby Slipper Pattern. It’s for my feet which are a massive size 9. So to edit it, you can make them shorter by cutting a bit out of the middle of the sole. If you cut out an inch, then also cut out an inch on the length of the side piece. I hope that makes sense. But at the end of the day, these are slippers and they have an elastic top, so they are very flexible when it comes to sizing. You can also use a slipper or shoe that fits you to create your own pattern, using ours as a guideline. So get the Free Prudent Baby Slipper Pattern here.
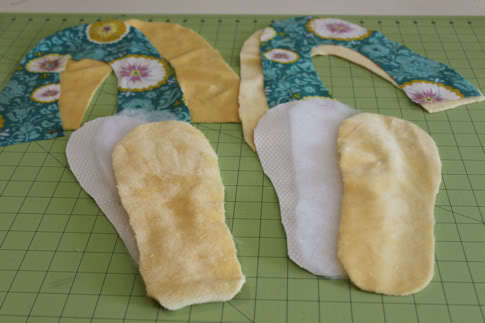
2. Now you need to trace and cut out your pattern pieces. For the sole you need 2 pieces in Jiffy Grip, 2 pieces in batting (or more batting pieces if you want them even cozier), and 2 of your lining (minky in my case). These slippers aren’t right foot/left foot just to keep it simple. Then for the slipper upper you need two pieces of lining and two pieces of outer fabric (flannel in my case):
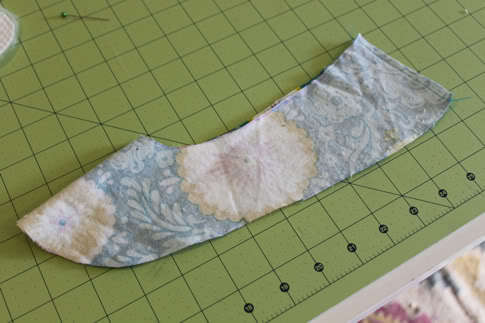
3. Now grab one of your outer pieces and fold it in half right sides facing and sew up the straight edge. This is your heel:
Lay one piece of batting, then put your jiffy grip on top of it, right (bumpy) side up:

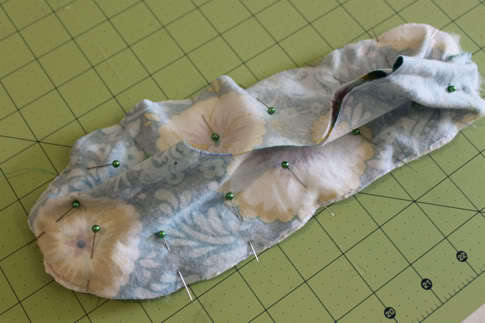
Then take your upper and pin it right side facing to the sole, through the jiffy grip and batting. Start by pinning the center of the heel, then the center of the toe, then the center of the sides, so it all stays nicely aligned:
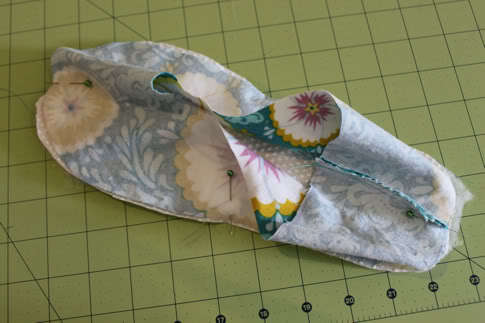
Continue to pin, edges aligned, all the way around:
Sew near the edge with a straight stitch, then trim your edges:

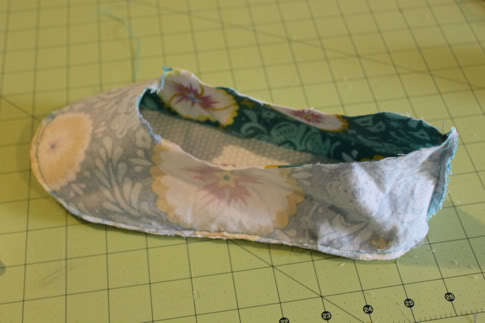
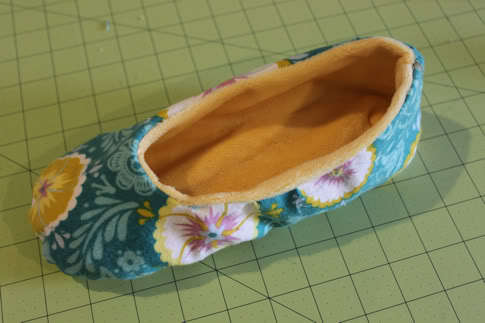
When you turn it inside out it will look like this, you’ve made the shoe outer:
Lay one piece of batting, then put your jiffy grip on top of it, right (bumpy) side up:
Then take your upper and pin it right side facing to the sole, through the jiffy grip and batting. Start by pinning the center of the heel, then the center of the toe, then the center of the sides, so it all stays nicely aligned:
Continue to pin, edges aligned, all the way around:
Sew near the edge with a straight stitch, then trim your edges:
When you turn it inside out it will look like this, you’ve made the shoe outer:
4. Now we repeat with the lining for the same foot. Fold the upper in half and sew the heel together along the straight edge:

Put the lining sole right side up, then pin the lining upper to it, right sides facing:
This time sew almost all the way around with a straight stitch, but leave the base of the heel open, backstitching at the beginning and end:
Put the lining sole right side up, then pin the lining upper to it, right sides facing:
This time sew almost all the way around with a straight stitch, but leave the base of the heel open, backstitching at the beginning and end:
5. Now make sure your outer shoe is inside out:
And the lining is right side out:

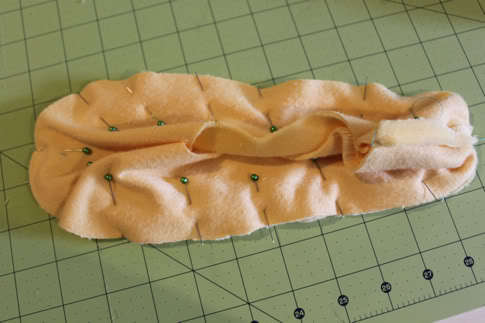
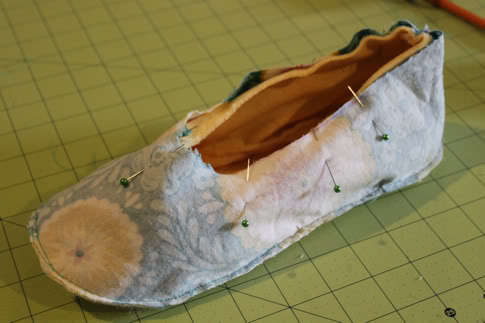
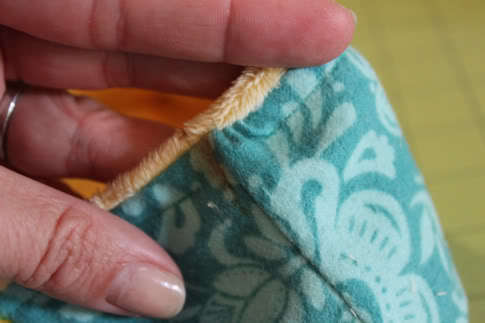
Fit the lining into the shoe (now right sides are facing) and pin at the heel with the seams open:
Pin all the way around the shoe opening:
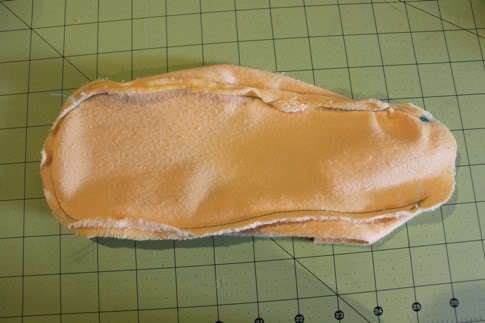
Sew in place at the edge with a straight stitch all the way around, then trim your edge:
And the lining is right side out:
Fit the lining into the shoe (now right sides are facing) and pin at the heel with the seams open:
Pin all the way around the shoe opening:
Sew in place at the edge with a straight stitch all the way around, then trim your edge:
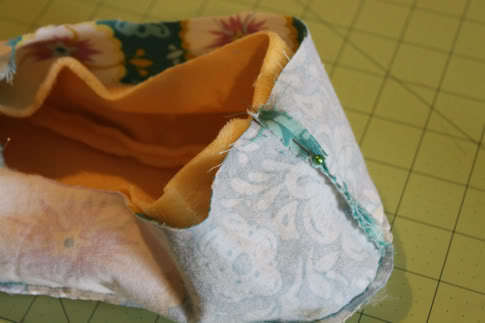
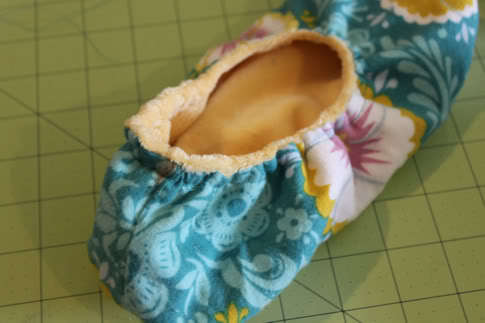
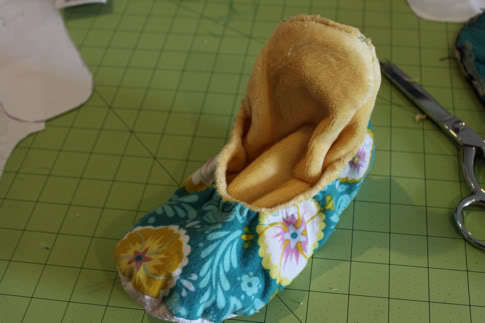
6. Now reach in the hole in the lining of the heel and turn your slipper right side out:
We need to sew a channel around the top for our elastic.
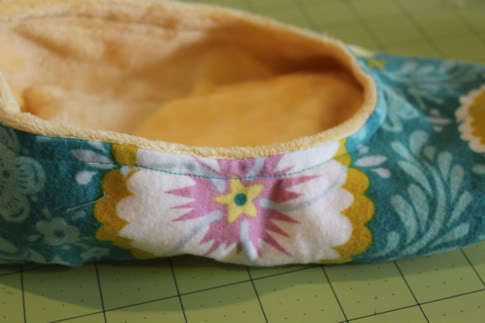
So start on one side of the heel seem, back stitch, sew all the way around the shoe opening about 1/4-1/2″ down from the seam, stopping a little on the other side of the heel so there’s an opening to thread your elastic through like so:
We need to sew a channel around the top for our elastic.
So start on one side of the heel seem, back stitch, sew all the way around the shoe opening about 1/4-1/2″ down from the seam, stopping a little on the other side of the heel so there’s an opening to thread your elastic through like so:
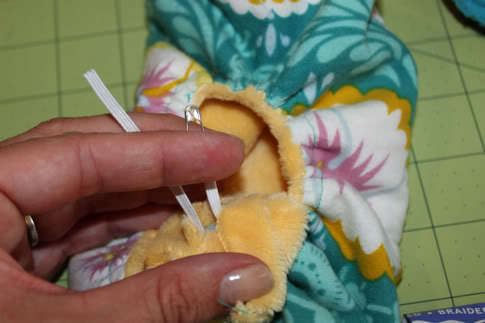
7. Now grab your elastic (mine was 11″ – start longer then cut it if you need to after trying it on) and go through the hole in the heel lining to thread it all the way around the channel we just sewed:
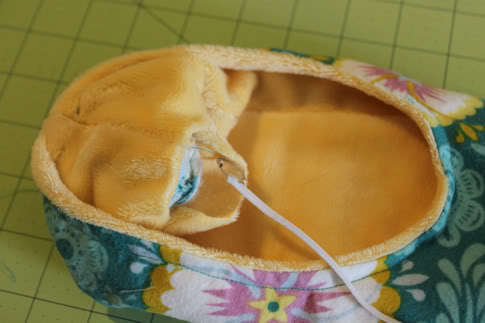
Pull it out the other side through the opening in the heel. Try it on, see how long you need it to be:
Sew it together with a zig zag:
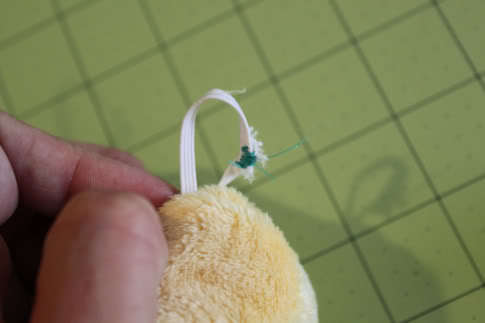
Push it back into the casing and sew the opening between your casing start and finish point closed:
Pull it out the other side through the opening in the heel. Try it on, see how long you need it to be:
Sew it together with a zig zag:
Push it back into the casing and sew the opening between your casing start and finish point closed:
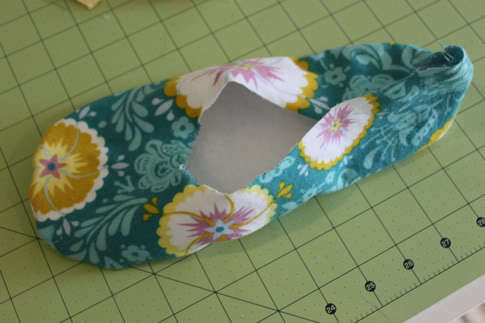
8. Now pop open the hole in the lining of the heel:
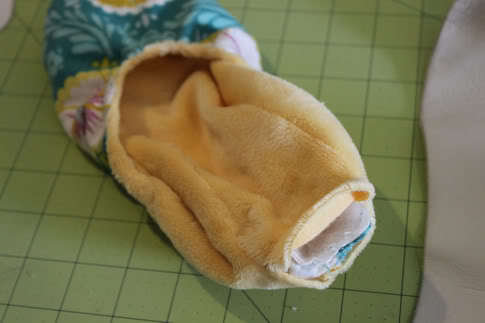
Push your shoe insert in:
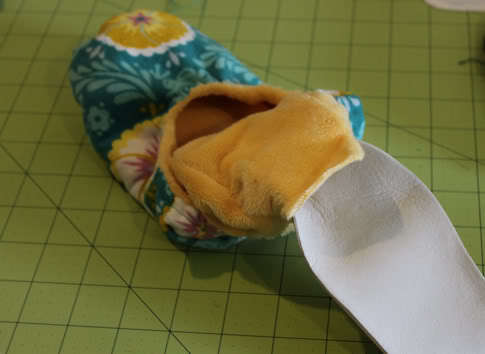
And sew the hole closed. You could slip stitch but this is the inside of a slipper, I wasn’t stressing the finishing details, so I just closed it with a straight stitch on my sewing machine:
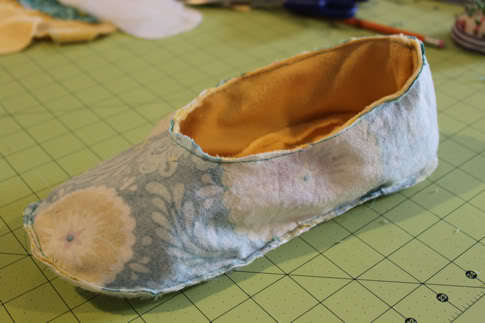
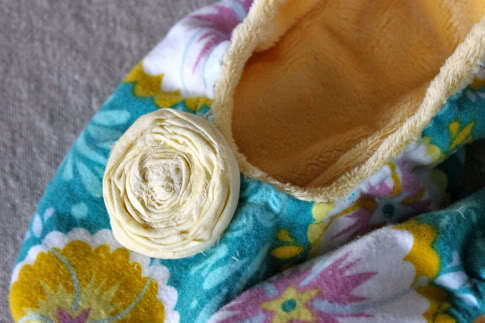
Push your shoe back into place. Now make some rolled fabric flowers or pom poms or what-have-you for decoration (or none, whatever your pleasure) and sew them on.
Push your shoe insert in:
And sew the hole closed. You could slip stitch but this is the inside of a slipper, I wasn’t stressing the finishing details, so I just closed it with a straight stitch on my sewing machine:
Push your shoe back into place. Now make some rolled fabric flowers or pom poms or what-have-you for decoration (or none, whatever your pleasure) and sew them on.
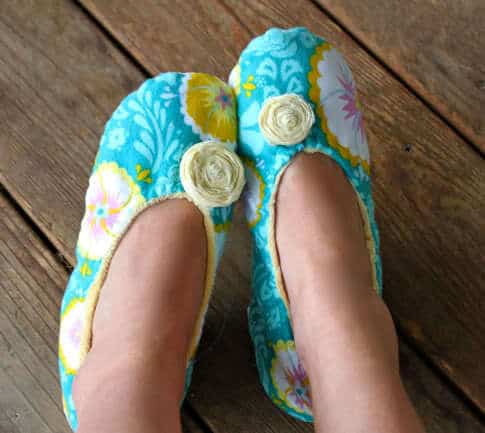
Finished and it feels so good!
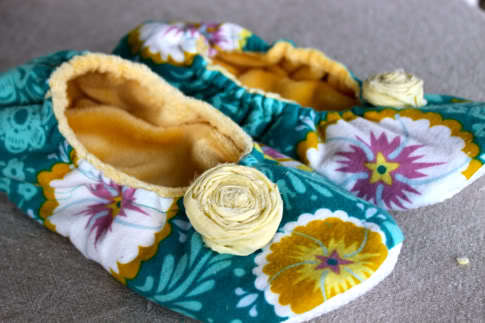
Oh wait, I forgot to mention you have to start all over and make a second shoe. That’s the thing with shoes
Oh wait, I forgot to mention you have to start all over and make a second shoe. That’s the thing with shoes
No comments:
Post a Comment