Are you ready for another sunhat tutorial? While there may be better instructions out there for making that bucket portion of the hat, I wanted to show you a fun way to make a brim that adds a different element than just fabric. Bias Tape! And it is so easy, it was actually the easiest part. That might have been due to the fact that I was totally winging it when it came to the body of the hat, but had I found this tutorial on Sew Much Adosooner I would have used it, just sayin. But for the sake of this tutorial, and in case you need a larger size I will show you how I did both parts. Let’s get started!
Supplies:
- all your sewing stuff
- double fold bias tape
Material:
- I used fabric scraps. I actually even had to sew together strips to make the body. Use what you have ladies!
- fabric for the lining
Measurements:
Measure the head by wrapping a tape measure around the head right above the eyebrows and ears. Take that number and add an inch.
Fabric Cuts:
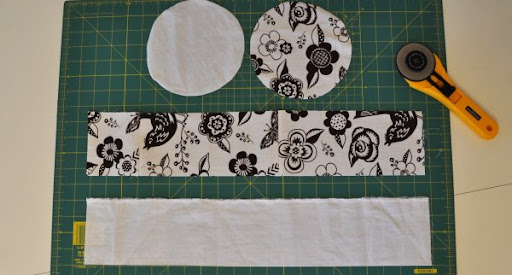
So here comes the part that I was winging it. I just used a bowl to cut out the circles for the top then cut the strips to be the length of my measurement for the length. I made the width 4 inches, but I would do 3½ next time. Make sure you have the same cuts for the lining.
Sewing:
Start by sewing the short ends of your strips together right sides in, making to rings.
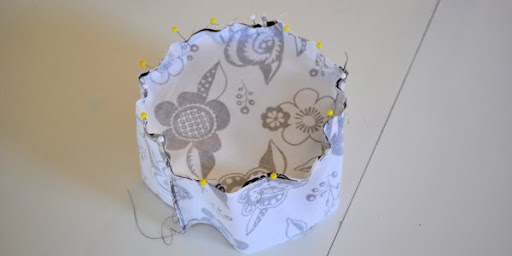
Next you are going to pin the rings to the circles like shown. I just pinched and pinned around, but I have seen where they cut notches, again…winging it!

Now sew the two together using a ½ inch seam allowance. Repeat for the liner. Now turn the body right side out and tuck the liner inside leaving it right side in.
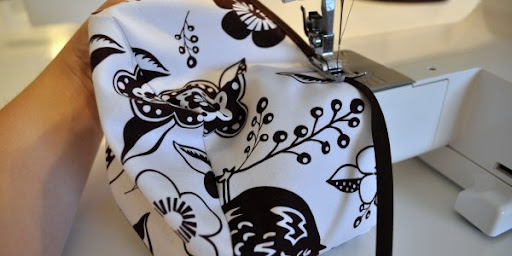
Now take bias tape and fold over the raw edges of the body and lining and sew around the perimeter. When you reach the end just fold the bias tape under a little.

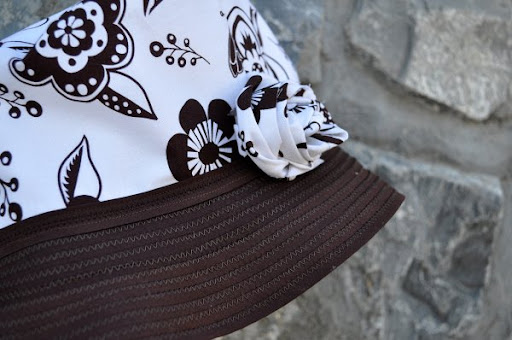
This is the bucket of your hat! Now onto the brim….

Take the entire length of the bias tape and fold one end in like shown. Make a ring the same size as the ring of your bucket. This is where you will begin sewing. You will use a small zigzag setting and follow all around the circle, lining the bias tape right against itself…
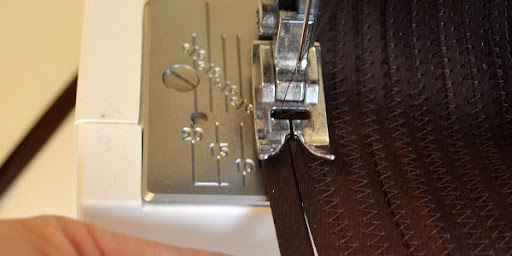
Like shown in this picture. Does that make sense? So you make a ring the same size as the bucket, with the entire length still hanging, and then just begin sewing around till you reach the size of the brim you want. Fold the end under at the end. I promise it will make sense once you start going!

Now sew a single ring of bias tape around the top, folding the end under.
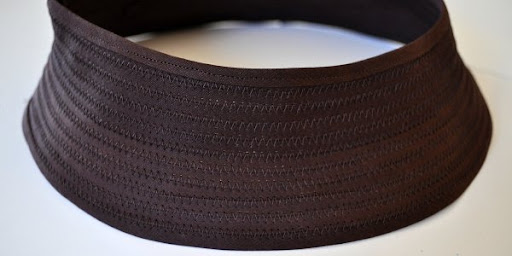
It should look something like this.

Now take your bucket and sew it to the brim using a small zigzag stitch. Just line them right up next to each other and sew around. You’re done!
No comments:
Post a Comment