
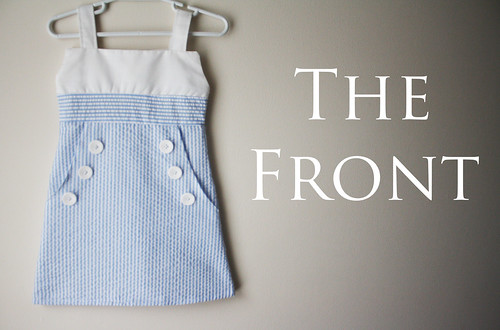
I'm going to share a tutorial with how I made it, but sharing things I would change and how to go about making a pattern for your child. I changed things some even for this, but I would add to some of the measurements if I made it again.
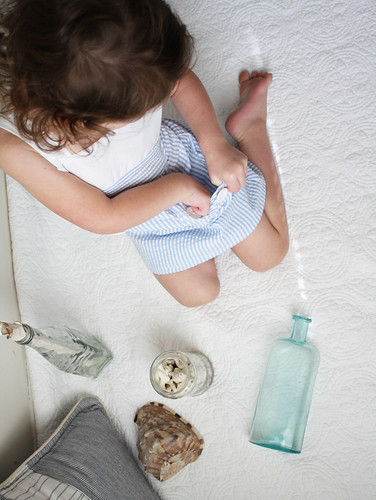
(Fun big pockets for holding treasures)
What you will need:
-Fabric for the top
-Striped fabric for waistband, skirt, and pocket (I bought a yard)
-6 buttons for the front
-1 button for the back
-Twill tape/ribbon for back button loop
-And of course, all the things you need to sew ;)
1. Creating the pattern and cutting fabric:
Start by taking your child's chest and upper waist measurement. If they differ, go with the highest number. My daughter was the same, 19".

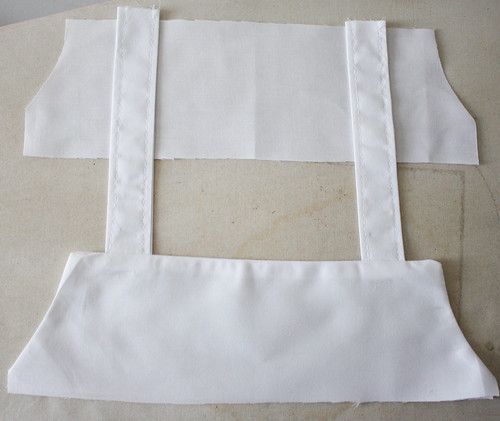
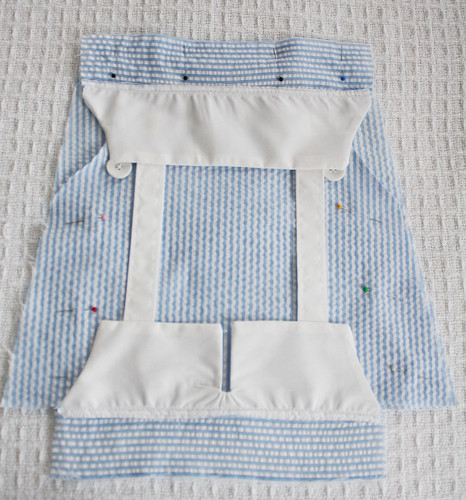
The above picture is of the different pattern pieces you will be creating.
A: The strap. This you will have to determine on your own. You could just make the straps tie if you don't want to worry about it. My pattern piece for the strap is 4"wide x 6.5" long.
***Cut 2 for the straps**
B: The top. I first cut a rectangle that equaled half of my daughter's chest measurement plus 1.5. This equaled 11 inches. If I were to do it again, I would add another inch to it making it 12 inches. It fits, but she won't be able to wear it for too long.
Then, decide the height you want it to be. Mine was 3.5" high. Take your square and fold it in half. Then cut arm holes on the sides (I just guessed, but you could use a shirt if you need some guidance).
**Cut 2 pieces for lining and 2 pieces to be the front and back** (4 pieces all together. I just used the same fabric for all).
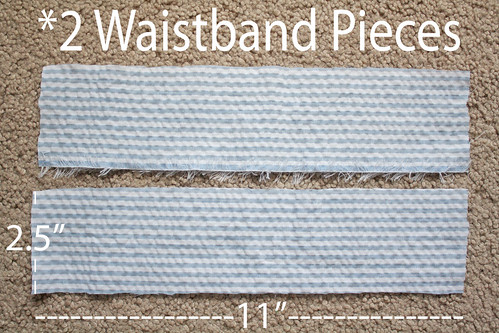
C: The waistband. Again, another rectangle. This will be the same length as the top. Mine is 11" by 2.5".
**Cut 2 for waistband, making sure the stripes go horizontally**
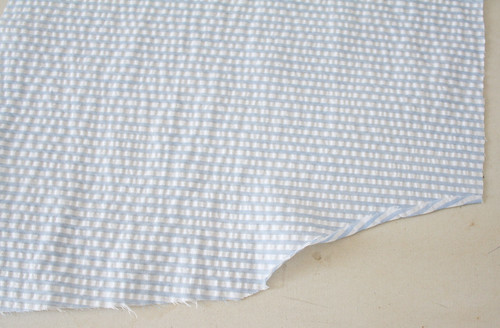
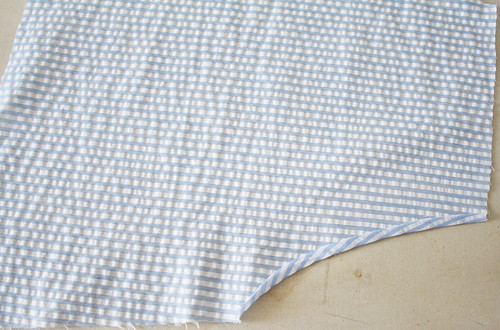
D: The bottom. Create another rectangle that is 1/2 of the width of the top and waistband (Ex: 11/2=5.5"). PLEASE NOTE: THE MEASUREMENT BELOW AT THE TOP IS WRONG. IT SHOULD SAY 5.5". :) The height will be up to you. Mine is 13.5".

Once you have your rectangle, mark over 2.5" (Again, if I was to redo this, I might add another .5" to 1", but she still has plenty of room to run, sit, etc). Then draw a line from the top right corner of the rectangle to the mark at the bottom. This will create an A-line look.
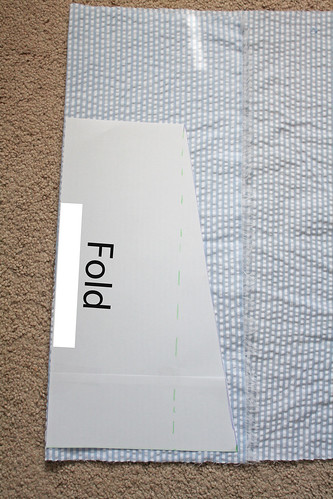
When cutting the fabric, make sure to place this pattern piece on the fabric fold.
**Cut 3 out with stripes going vertically**
2. Creating the straps:
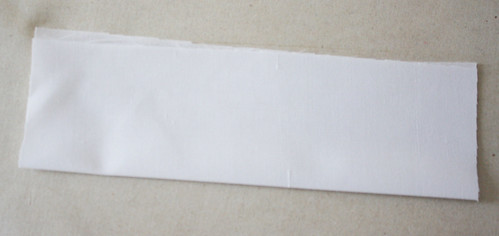
Fold strap piece in half short ways, wrong sides facing.
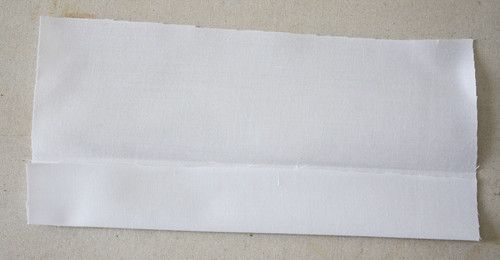
Open and turn in one side to middle crease, wrong sides facing, and iron.

Turn other side in as well and iron. Then fold in half on original crease. Sew down both sides of strap. Repeat for second strap.
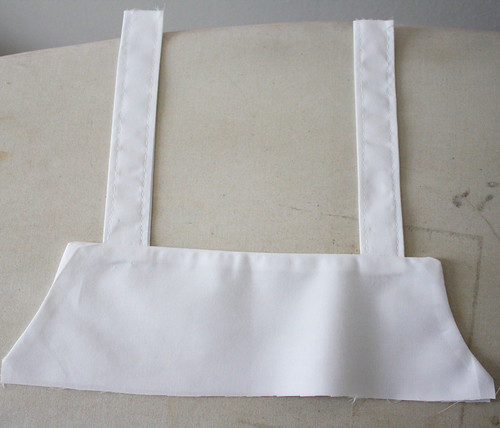
3. Creating the top:

Place top front down, right side up.
Place straps on top (I did mine about 1/5" in). Then place lining on top, wrong side facing up. Pin in place. Sew around arm holes and top, leaving the sides and bottom open.
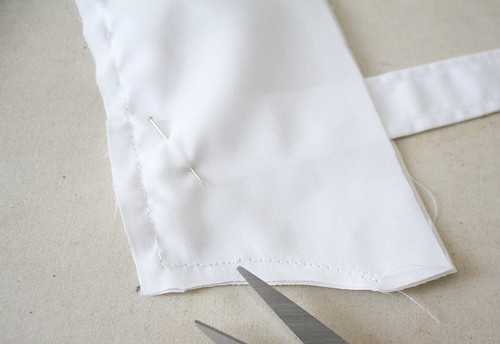
Clip curved seams.

(close up of clipped curved seams)
Turn right side out and iron. Top stitch if desired.
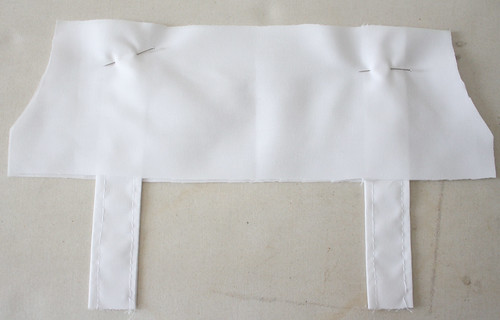
Place back piece right side up. Then place straps on. The straps/front piece will be wrong sides up.
Place back lining on top next, wrong side up, and pin in place. Again, sew around arm holes and top leaving the sides and bottom open. Clip curved seams.
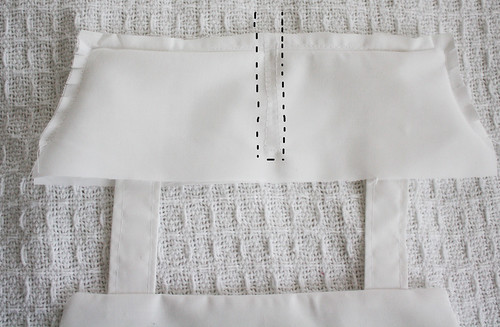
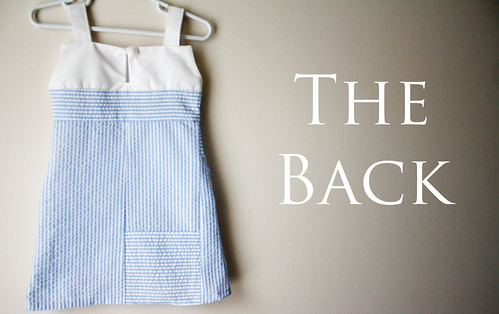
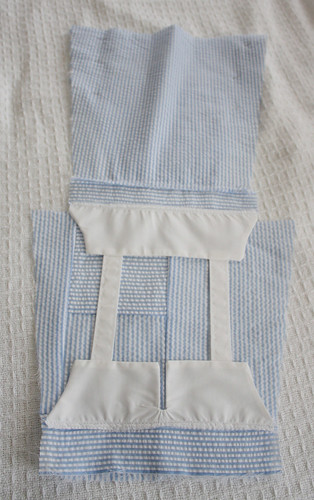
Then you are going to sew a three sided rectangle down the middle of the back. I don't suggest making it too wide and make sure you don't go too far down that it would be sewn over later. This will help the dress fit over your child.

Cut right down the middle of the 3 sided rectangle and make a little slit towards each bottom corner. Be careful not to cut through the stitching.
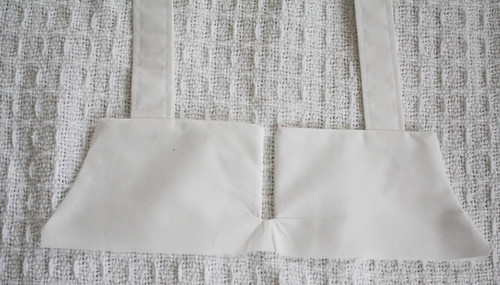
Turn right side out and iron.
4. Putting it all together:
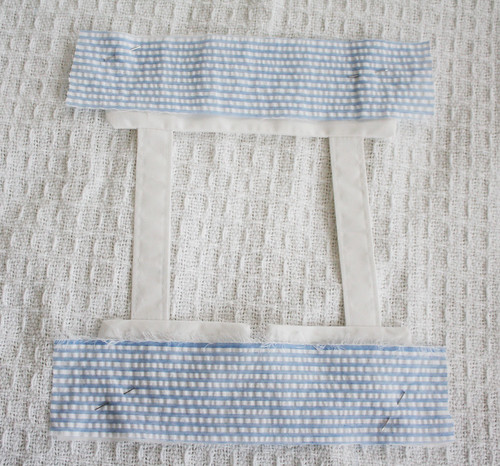

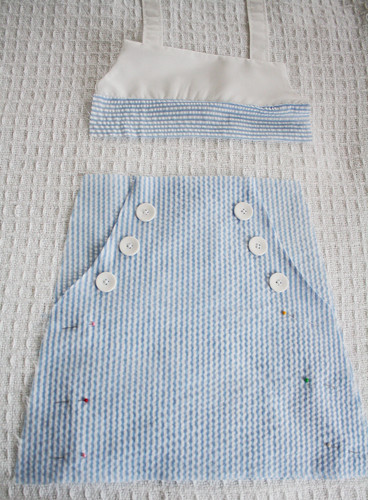
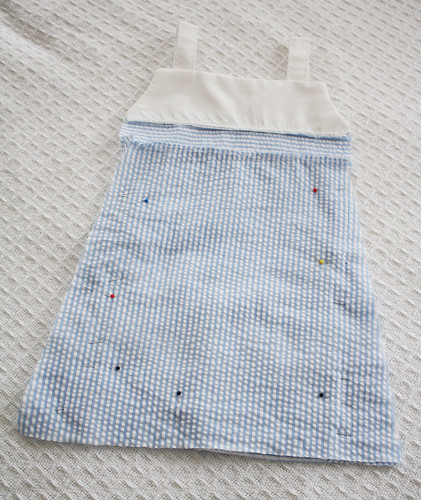


Place waistband pieces onto the top front and the top back, right sides facing. Sew together at the bottom and finish raw edges with a zigzag stitch.
Open up and iron seams.
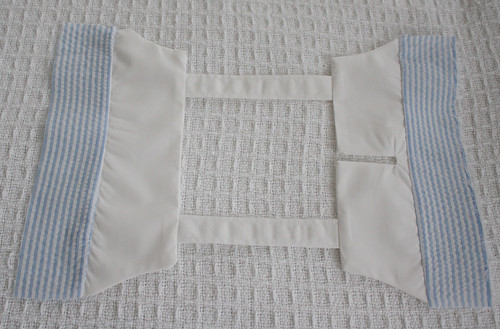
Take one bottom piece and fold in half. Cut off at the top sides to create the pocket. There's no math here, I just guess each time I do it.
Open up and place right side down. Fold edge up and over where you just cut and iron.
Fold over one more time and sew. Repeat for other pocket side.
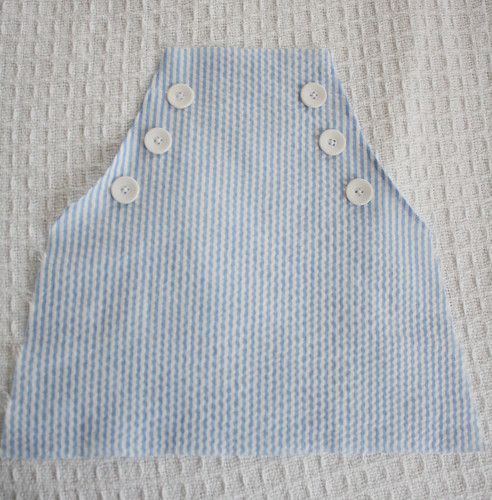
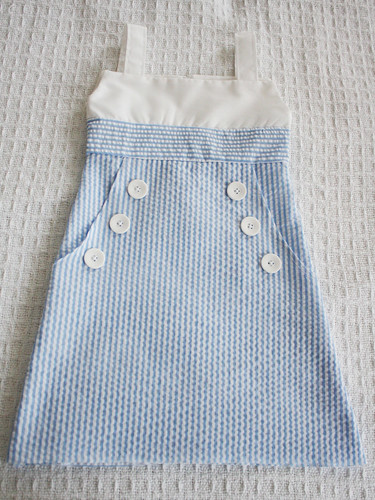
Go ahead and add the six front buttons now. I suggest using embroidery thread if doing it by hand for a stronger hold.
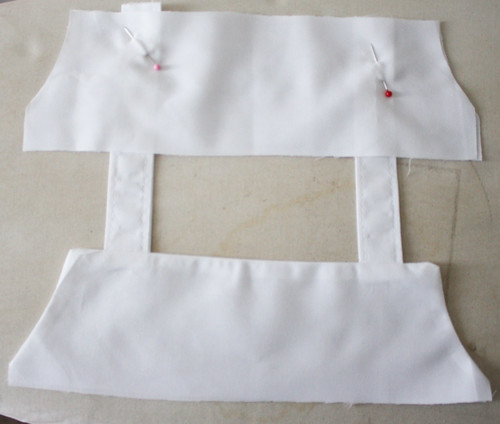
Pin the pocket piece, right side up, onto a bottom piece, right side up.
Pin the front top to the pocket bottom piece, right sides facing. Sew together and finish raw edges with zigzag stitch.
Take last bottom piece and pin to back top, right sides facing. Sew together and finish raw edges with zigzag stitch.
Place the dress together, right sides facing, and pin. Sew down the sides of the dress and finish raw edges with zigzag stitch. The pocket will be open on the bottom, but the bottom will be hemmed up closing it.
Turn right side out. Fold bottom up into the dress 1/4" and iron. Fold up again 1/4", iron, and pin in place. Sew around bottom to create hem.
Lastly, sew on a button and closer on the back top. For the closure, I folded a piece of twill tape in half and sewed it like that. Then, folded it in half and sewed the ends on the inside top left.
**Quick note: It will go on easiest if they step into it! At least, that is how ours are :)
No comments:
Post a Comment