You’ll need:
a thrifted tee, or some knit (yardage depends on your youngster, most likely 1 yard will be enough)
rib knit (1/4 yard will make quite a few collars)
matching thread (polyester is best for knits)
ballpoint needles (these are specifically for knits)
a tee shirt that fits your child to make a pattern from
First off, make a simple tee shirt pattern.
So. You have that shirt that fits your child, right?
Lay it out, folded in half. I use freezer paper for my patterns-but you could use anything. Even a few pieces of copy paper taped together. (been there…done that)
Trace around your shirt, and make sure to add your seam allowance, whatever that is. (I usually use a 3/8″ seam allowance, just FYI)
This is what it should look like!
Make sure to trace where it dips lower in the front.
Now for the sleeves, trace around like so…
And the curve….then continue the swoop down like the picture shows. The top flat line is the fold, by the way.
Then cut out your pieces, I cut my bodice pieces on the hem to reuse it. 1 with the back neckline, 1 with the front. Cut two sleeves on the fold.
Then I cut out a small oval to one side of the front neckline.
Then I cut a piece of my rib knit, 42″ (width from selvage to selvage) by 1.5″. Just make sure the ribs are going vertically along your yardage so it can stretch when you sew it on.
I ironed in both sides 1/4 ” like so.
Then in half to make some “bias” tape. (not cut on the bias but made similarly)
Then take a small piece and pin it around the oval, sandwiching the raw edge.
Then pin and sew ONE of the shoulder seams, right sides together.
It doesn’t matter much, but I sewed the one opposite my little oval cut out.
Then starting at one end of the neckline, pin the tape around the raw edge. Slightly stretch the tape a little between each pin. This will help the neckline retain some shape. Also when you get to the oval cut out, pull the ends together so it makes the keyhole shape and pin well.
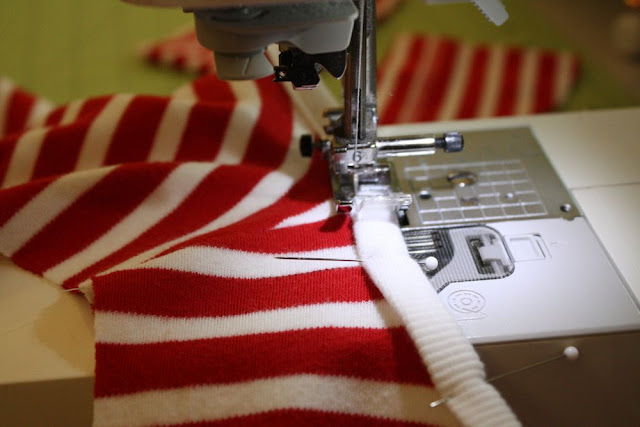
Then sew the tape on, close to the edge.
Next pin and sew the other shoulder seam together.
I tacked down the bias tape seam to the inside of the shirt.
I also pinned and sewed some tape to the edges of my shirt sleeves.
Sorry I didn’t take a picture of this step for this shirt, but here is a pic from another tute:
Pin and sew the sleeves right sides together, into the armholes.
Then pin and sew the sides of the shirt together. Leave a tail at the bottom of the shirt if you don’t like to back stitch over knit…
Cause then you can just tie them in a knot, trim, and be done!
Tada! A cute, easy top with a fun little detail. Thanks for stopping by!


No comments:
Post a Comment