Materials:
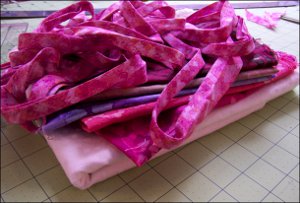
- 1-1/2 yards fabric for top and bottom
- Scraps or fat quarters in at least 5 different colors/patterns
- 2-1/2 yards bias tape
- Fusible felt
- Steam-A-Seam
- Pattern Page 1 and Pattern Page 2
Instructions:
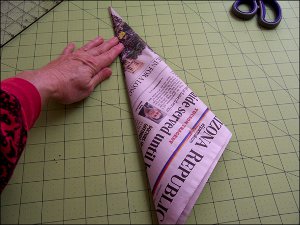
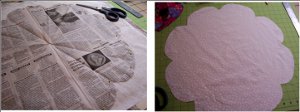
- Print the patterns and cut them out. To make the patterns actual size, use newspaper. For the top/bottom pattern, use a folded piece of newspaper.
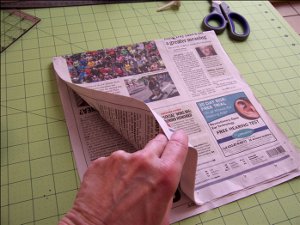
- Fold the top right corner down to the bottom left corner and crease.
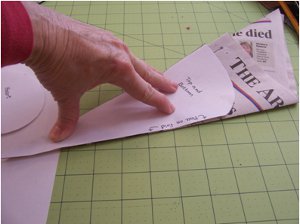
- Do this one more time.
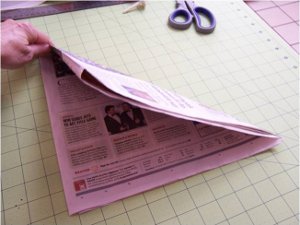
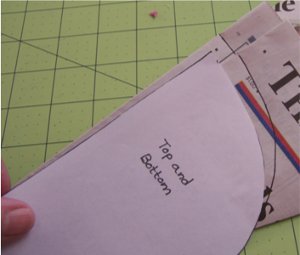
- Place the fold edge of the printed pattern along the solid fold of the newspaper. Trace the top curve of the pattern and cut along that line.
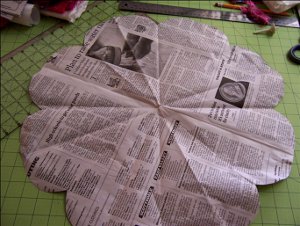
- Open up and it should look like this:
- Fold top/bottom fabric with cut edges meeting so you'll have a double layer big enough for the pattern. Pin the pattern on and cut out.
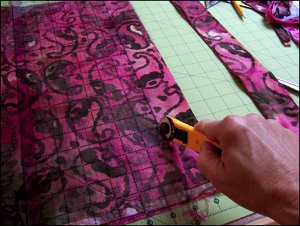
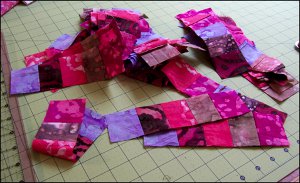
- Cut your scraps/fat quarters into 2 inch strips. If you have a rotary cutter and a self-healing mat, stack the fabrics and cut them up all at once. If you don't have one, marking two inches with chalk marks is the easiest way I've found.
- Using 1/4 inch seams, sew together in five strip blocks, mixing up the order of your fabrics. Press seams open.
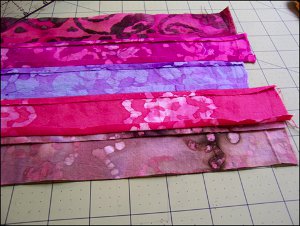
- Even up the ends of your blocks and cut them into 2 inch strips.
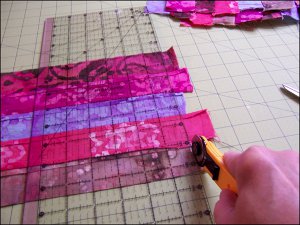
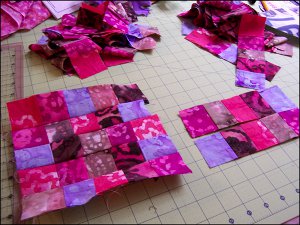
- Now sew these strips together in 5 strip blocks (1/4-inch seams again) and press the seams open. Mix up the patterns so that every block looks different. You'll only need 4 blocks, so you might want to save the other strips for another project.
- Trace four heart appliques onto the top side (so it will have the adhesive on it still when the sheets are separated) of Steam-A-Seam. Take the bottom sheet off and iron onto the wrong side of each block.
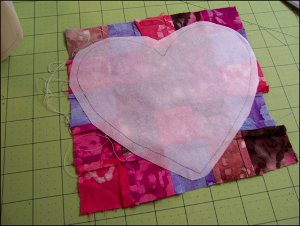
- Cut out.
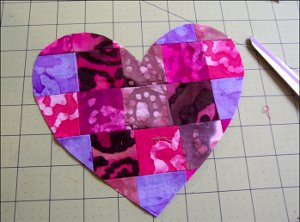
- Remove the remaining paper piece from the appliques and position on the table topper fabric. Iron on.
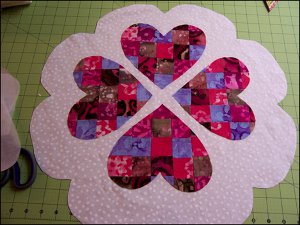
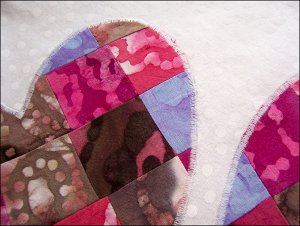
- Sew along edges of appliques with a zigzag stitch. On my Brother, I used a .2 length and 3.5 width.
- Using the top/bottom pattern, cut a piece of fusible felt. Fuse to the top. Pin top to bottom.
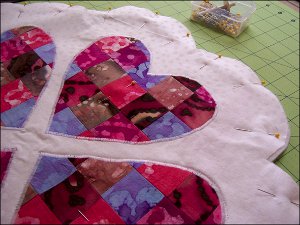
- Sew around the outside of the hearts and again on the inside of the zigzag stitches. Free motion quilt on the portions of the top fabric that are showing.
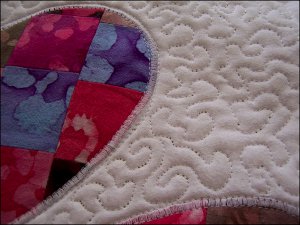
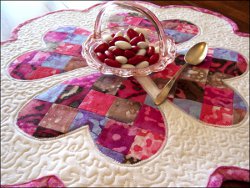
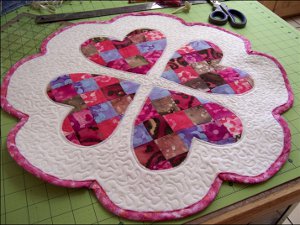
- Finish the edges with bias tape, and you're done!
No comments:
Post a Comment